

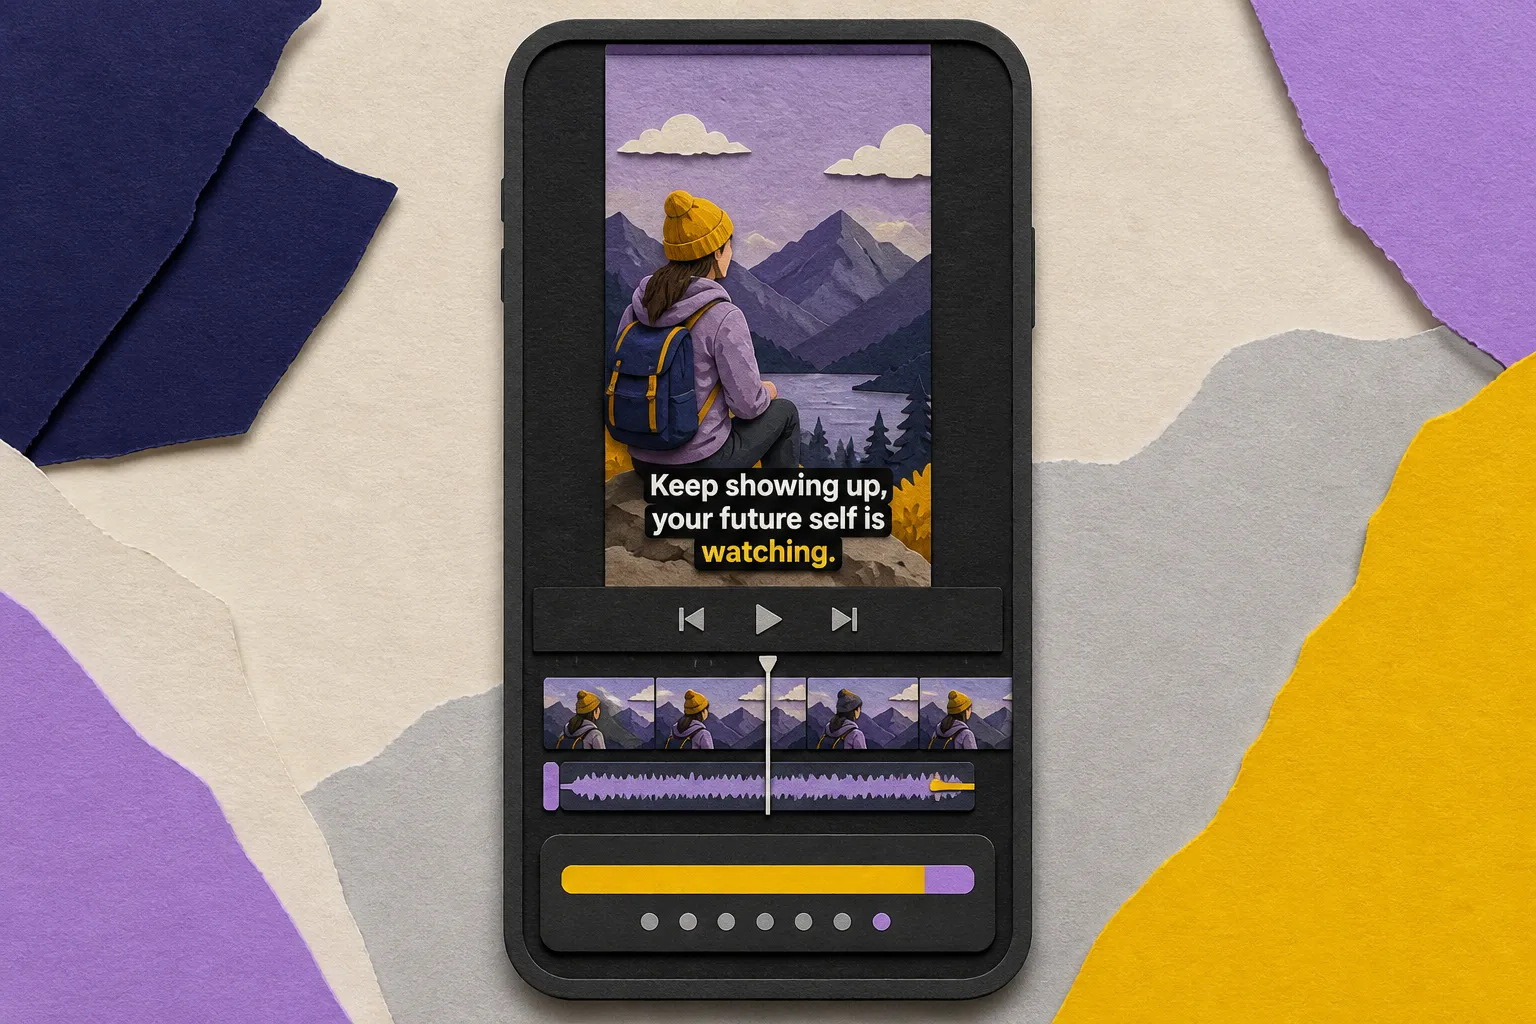
If your captions keep disappearing or restyling themselves after upload, burned-in subtitles fix it. You set the look once, bake the words into the pixels, and your captions show up the same on every platform and device.
Below are five practical moves to export clean, on-brand burned-in subtitles you can trust for TikTok, Reels, Shorts, and anywhere else you post.
1) Know when burned-in captions beat sidecar files
Closed captions in sidecar files (SRT, VTT) work until a platform strips them, ignores styling, or reflows lines during auto-cropping. Burned-in subtitles travel with the image, so the layout and styling stay intact.
- Short-form feeds like Instagram Reels, TikTok, and YouTube Shorts. These often restyle or hide sidecar captions. Open captions keep your typography and line breaks consistent.
- Embeds in slide decks, email, digital signage, kiosks, or in-app players where you do not control caption support. Burned-in text guarantees visibility.
- Client work with strict brand guidelines. Locking fonts, colors, stroke, and placement avoids last-minute surprises at publish time.
- Fast how-tos, demos, or reels with dense speech. Open captions preserve timing, highlight effects, and deliberate line breaks across every export.
- Need quick auto captions for TikTok and YouTube? Use an ai subtitles generator to draft the transcript, then export with captions baked into the frame.
With SubtitlesFast, the Burned-In Subtitles export locks your captions to the video. Pair it with AI Subtitles for accurate timing and optional word-level highlighting so your story reads well on mute and stays readable after compression.
2) Keep it online and quick from upload to export
You do not need heavy desktop software to add subtitles to video online. A simple web editor keeps the whole workflow in one place, from upload to publish.
- Upload your clip and run AI Subtitles. Use language detection or pick manually. Add names and jargon to a custom glossary so the transcript nails brand terms.
- Open Timeline Editing to trim heads and tails, cut silence, and sync captions to new edit points. Nudge start and end times so each subtitle lands on phrase boundaries.
- Style in Subtitle Style Customization: choose a preset, then tweak font, size, weight, line height, stroke thickness, drop shadow, and padding. Save as a brand preset for the next video.
- Want extra pull? Toggle Karaoke Style Subtitles for word-by-word progress. It adds energy without blocking the subject when sized and placed correctly.
- Need a music bed? Use Add Music and set a modest ducking level under speech so captions and dialogue remain the focus.
- Generate cover art with the AI Thumbnail Generator so the visual style matches your captions and the first frame of the video.
This online flow keeps you moving: transcribe, edit, style, preview, export. No round-tripping between apps or risking a mismatch in fonts and settings.
3) Match each platform with the right frame and safe zones
Burned-in subtitles must sit inside safe areas or platform UI will cover them. Set the aspect ratio early and place text where it will survive auto-cropping.
- Use Change Aspect Ratio to switch between 9:16 for TikTok, Reels, Shorts, 1:1 for square feed posts, and 16:9 for YouTube and web. Lock composition before styling captions.
- Keep subtitles inside safe margins. A simple rule: leave at least 10% padding from each edge. Avoid the bottom zone where like/comment/share buttons and progress bars live.
- When the background is busy, increase stroke weight or add a soft box in Subtitle Style Customization. Contrast beats decoration. Aim for WCAG-like contrast ratios when possible.
- Favor lower-third placement for vertical videos unless the subject’s face sits low in frame. Nudge captions up and tighten line height to keep eyes and text visible together.
- For short-form clips, Karaoke Style Captions can lift watch time. Keep the highlight line thin, high-contrast, and synced to syllables, not just words.
Set your frame once, check safe zones, then design captions. You will avoid redoing layouts for each platform and keep exports consistent.
4) Run a tight quality check before you publish
Three minutes of review separates average from great. Read every line at 1x with audio on, then again at 1.25x on mute to simulate a rushed viewer.
- Fix names, acronyms, and slang. In AI Subtitles, correct the transcript and let timing ripple through so words and highlights stay aligned.
- Keep it scannable: two lines max, around 32 - 40 characters per line. Target 14 - 17 characters per second so viewers can read without pausing.
- Break lines on natural phrases. Do not split names or verbs from objects. Use punctuation for rhythm; avoid all-caps except for brand marks.
- Watch on a phone. If you squint, bump font size, add a thicker stroke, or enable a subtle background box via Subtitle Style Customization.
- Check contrast on bright and dark frames. White with a dark stroke wins most backgrounds. Test a few high-motion sections to ensure edges do not shimmer.
- Going global? Use Translate Subtitles for key markets. Pick fonts with full glyph support for CJK and RTL scripts, then export each language with Burned-In Subtitles.
- Final spot check: export a 10 - 15 second sample and upload privately. If platform compression softens edges, add a touch more stroke and re-export.
Strong captions lift retention. If you want the karaoke effect, keep the progress highlight smooth and exactly synced to speech, especially on jump cuts.
5) Export for crisp text and painless uploads
Short-form platforms compress hard. Give them clean input so your captions stay sharp after processing.
- Resolution: 1080x1920 for vertical, 1920x1080 for horizontal. Only use 4K when the platform actually serves it for your audience.
- Format: MP4 container, H.264 video (High profile, Level 4.2 is safe), AAC audio at 160 - 256 kbps. Constant frame rate to avoid drift.
- Bitrate: for 1080p 30 fps, 8 - 12 Mbps VBR is a good balance; for 60 fps, 12 - 16 Mbps. If text looks soft after upload, step up one tier.
- Margins: leave breathing room around subtitles so on-screen UI and auto-crops do not cover them. Do not rely on platform resizing to protect text.
- Audio: aim around −14 LUFS integrated for even loudness across feeds. Keep peaks below −1 dBTP to avoid clipping after transcode.
- Naming: export per ratio and language. Example: product-demo_v_9x16_EN_burned.mp4, product-demo_h_16x9_ES_burned.mp4.
- Upload: if posting from desktop, wait for “HD processed” or the equivalent before sharing links so edge strokes render cleanly.
If you are building your own content pipeline or a web app for uploads, this Nuxt boilerplate deployment guide on setting up Vercel with custom domains walks through a clean baseline you can extend for media workflows.
Wrap-up: Burned-in subtitles remove guesswork. In SubtitlesFast you can transcribe with AI Subtitles, restyle with Subtitle Style Customization or Karaoke Style Captions, reformat with Change Aspect Ratio, translate with Translate Subtitles, and export with Burned-In Subtitles. It is a repeatable stack for creators, editors, and teams who post every day.
Key takeaways
- Use burned-in subtitles when platforms strip or restyle sidecar files, or when brand consistency matters.
- Keep the workflow online: transcribe, edit, style, and export in one place to avoid mismatched settings.
- Set aspect ratio first, respect safe zones, and favor high-contrast styles that read on a phone.
- Do a fast quality pass: fix terms, control reading speed, and preview on-device before publishing.
- Export with sane codecs and bitrates so your text stays crisp after platform compression.
FAQ
What is the difference between burned-in subtitles and closed captions?
Burned-in subtitles are permanently embedded in the video pixels, so they always display. Closed captions are separate files or metadata that a player can toggle on or off.
When should I choose burned-in subtitles over a caption file?
Use burned-in subtitles when platforms ignore styling, when you need guaranteed readability, or when sharing clips by email, decks, or screens that do not support caption files.
Can I still style captions if I burn them into the video?
Yes. Style first, then export with burned-in subtitles. You can set fonts, colors, animations, and karaoke progress so the final video shows your exact look.
Do burned-in subtitles affect file size?
Text itself adds little, but re-encoding the video will. Keep a reasonable bitrate and resolution so uploads stay fast without blurring your captions.
Will burned-in subtitles hurt accessibility?
They help people who watch on mute. If a platform supports closed captions, consider posting a version with a caption file too so viewers can toggle and use screen readers.