

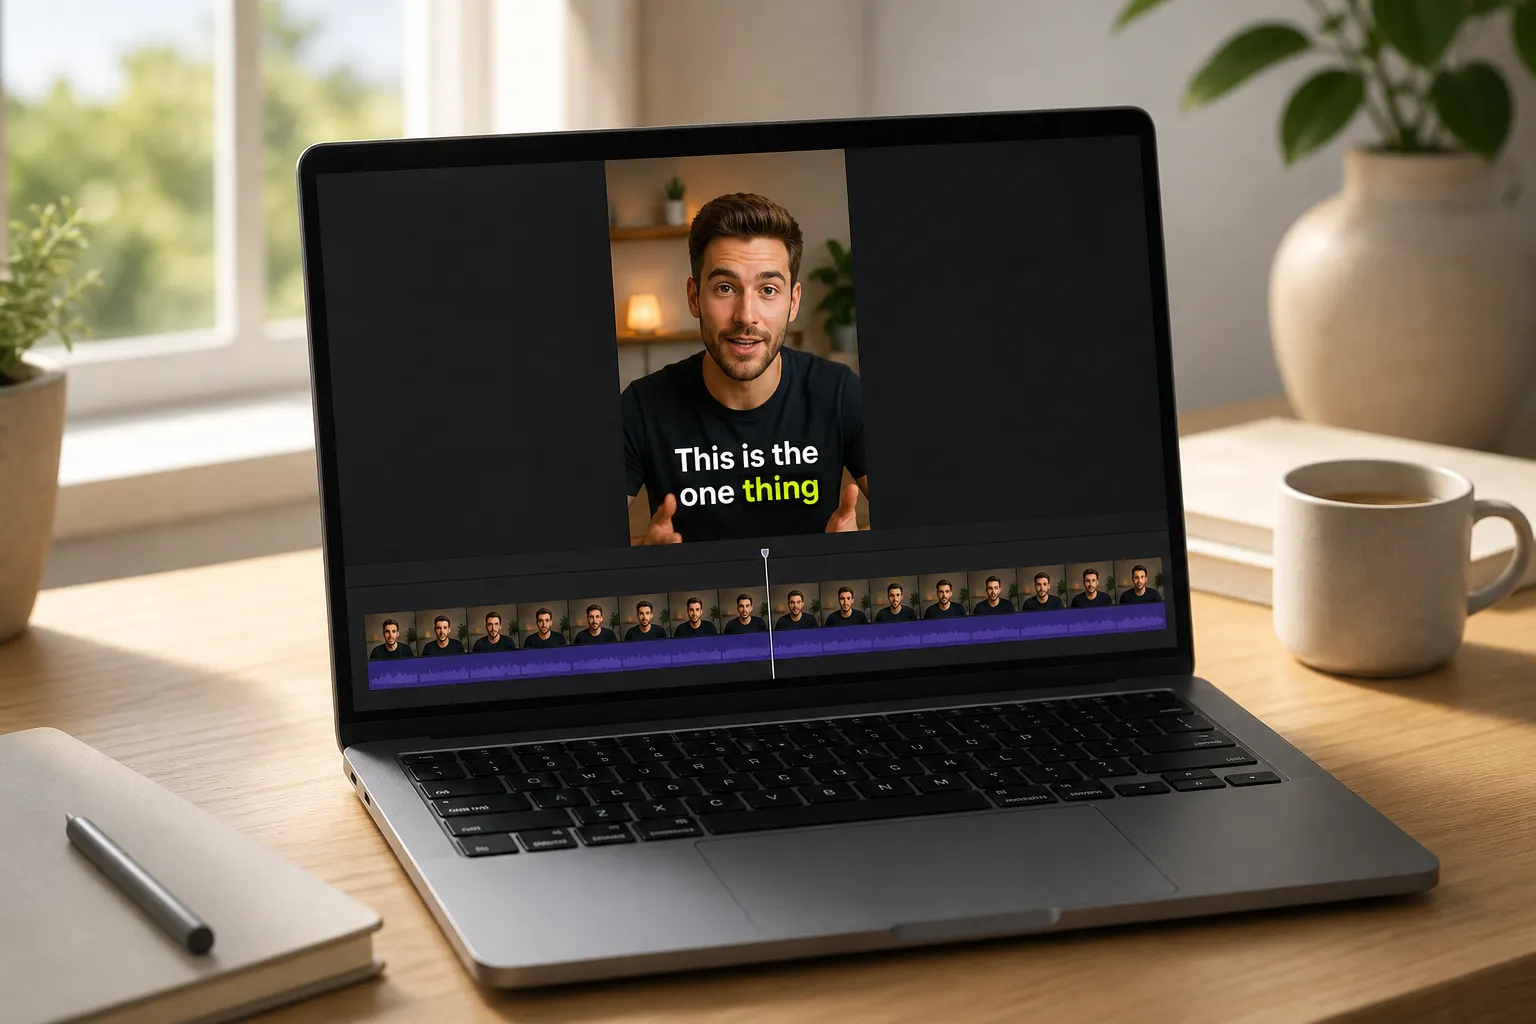
Most mobile views start muted, so captions are not a nice-to-have. They decide whether someone sticks around for the next sentence. The catch is that captions can eat your time if you bounce between apps or hand-fix every timestamp. Here is a simple, fast workflow that keeps you in the edit while subtitles stay accurate and on-brand.
We will use SubtitlesFast tools built for speed. Auto transcribe, tweak timing on a timeline, style once and reuse, burn captions into the video, then export platform-ready cuts. No back-and-forth with files, no guesswork on safe areas.
1) Import and auto transcribe
Upload your video to SubtitlesFast and run AI Subtitles. It transcribes speech in 50+ languages and shows word-level highlights so you can see exactly where a line starts and ends. That precision makes later fixes quick.
Before you start
- Pick the correct language for the first pass. If you plan to publish in other markets, run Translate Subtitles after you lock timing so you can reuse the same edit across languages.
- Clean audio saves time. Light background music is fine, but remove hums or loud room noise first. Fewer errors means fewer manual corrections.
- Names and jargon. Add uncommon names or product terms to your notes so you can spot and fix them fast during review.
Auto captions for shorts and long form
Start from a single master, whether your end goal is TikTok, Reels, Shorts, or a full YouTube upload. One transcription powers every aspect ratio you export later. This keeps wording and timing consistent across channels and is faster than relying on each platform’s auto captions.
2) Refine timing on the timeline
Move into Timeline Editing to trim, cut, or rearrange clips while subtitles follow your changes. Word-level highlighting helps you split at natural pauses instead of mid-phrase. Aim for readable chunks that match how people scan text on a phone.
Practical timing fixes
- Limit to two lines at a time with roughly 32 to 42 characters per line. Shorter lines are easier to read on vertical video.
- Keep most captions on screen for about 1.5 to 3 seconds. If a line flashes, extend its out point a few frames. If a line lingers, pull it tighter so the rhythm matches the voice.
- Split long sentences at natural pauses. Break at commas or conjunctions so each caption reads like a complete thought.
- Trim dead air. Remove silent gaps that make captions feel late or disconnected from the speech.
Adding music? Use Add Music to drop a track under your dialogue. Keep the music roughly 12 to 18 dB lower than the voice so words stay clear on phone speakers. Always do a quick phone test before you lock the mix.
3) Style captions to match your brand
Subtitle Style Customization gives you 30+ animated looks, plus control over fonts, colors, placement, and motion. Set a look that matches your brand so captions feel like part of the video, not a sticker on top.
Set a style once, reuse it everywhere
- Pick a clean, heavy-enough font for small screens. Save your brand hex colors as a template so every new project inherits the same look.
- Use contrast. A subtle shadow or stroke helps on talking heads. For busy b-roll, add a semi-opaque background box at 60 to 80 percent opacity for legibility.
- Mind placement. Keep captions away from the bottom 10 to 15 percent of the frame to avoid platform UI like like counts, progress bars, and buttons.
- Use motion with intent. A slight pop-in feels crisp on explainers. For high-energy shorts, Karaoke Style Subtitles that highlight words as they are spoken guide the eye without extra cuts.
When to go karaoke
Karaoke Style Captions shine on cold opens, punchlines, and calls to action. Use them on the first three seconds to hook attention or to underline a key phrase. Keep the rest of the video calmer so the effect stays special.
4) Export and share with burned-in subtitles
Once the timing and style are set, choose Burned-In Subtitles on export. Burned captions are baked into the pixels so your look stays consistent on every platform, in reposts, and in screen recordings. No separate .srt uploads, no surprises when a platform’s default style overrides yours.
Why burned-in is the safe default
- Consistency. Your style, timing, and placement look the same on TikTok, Instagram, YouTube, and X.
- Shareability. Captions survive downloads, reposts, and trims.
- Speed. One render, no extra caption files to manage.
Before you render, preview the full frame. Keep text out of the bottom and top 10 to 15 percent to dodge UI overlays. Check the edges after reframing, since a tight crop can push text into unsafe areas.
Prep cuts for every platform
Use Change Aspect Ratio to make platform-specific versions from your master. Convert to 9:16 for TikTok and Reels, 1:1 for square feeds, and 16:9 for YouTube. Captions keep their timing and style across versions, so you do not rebuild anything.
- Vertical 9:16. Reframe the subject so faces and captions sit above the bottom UI band. Test on a phone to confirm nothing overlaps.
- Square 1:1. Good for grid posts and some ad placements. Increase font size slightly since the frame is smaller on feed.
- Wide 16:9. Leave space below lower thirds so captions and graphics do not fight each other.
Export settings that just work
- Resolution. 1080x1920 for vertical, 1920x1080 for widescreen.
- Frame rate. Match your source, typically 24, 25, or 30 fps. Avoid frame rate changes at export to keep motion clean.
- Codec and bitrate. H.264 at 8 to 12 Mbps for vertical and 12 to 20 Mbps for widescreen is a solid balance of quality and file size.
- Audio. Stereo AAC at 320 kbps keeps voice crisp without bloating the file.
Quick publishing checklist
- Framing. Confirm safe margins on each cut. Nothing should sit on a platform button or progress bar.
- Thumbnail. Use the AI Thumbnail Generator to capture a clear frame with readable text. Add the same title style you use in captions for continuity.
- Sound. Dialogue should be easy to hear on phone speakers. If the music masks consonants, pull it down a bit.
- Captions pass. Play the first 10 seconds twice. If you have to reread to get it, shorten or split lines.
Plan your posting cadence too. Batch a week of edits and exports in one session so you can schedule without scrambling. For how side-by-side comparisons speed decisions, this guide from an open house sitter directory where owners find and contact local pet sitters, dog walkers, and house sitters, Cost of Pet Sitting vs Boarding: What You’ll Pay in 2026, is a clean example of turning options into a clear pick.
Common pitfalls and quick fixes
- Noisy audio leads to wrong words. If a section is messy, re-record that line or swap the take, then retrigger AI Subtitles on the updated clip.
- Tiny text on vertical video. Increase font size, add a semi-opaque box, and test on a phone before final export.
- Captions cover key action. Move captions up a bit and keep at least a 10 percent margin from edges to avoid UI overlays.
- Overactive animations. If motion steals focus from the message, switch to a simpler style and reserve karaoke highlights for hooks.
- Too many versions, not enough time. Lock one master, then use Change Aspect Ratio and burn new renders. Avoid re-editing each cut from scratch.
Key takeaways
- Auto transcribe with AI Subtitles, then fine-tune on the timeline so words and cuts stay in sync.
- Style once with saved settings to keep every clip on brand and readable.
- Burned-in exports keep captions consistent across apps and reposts.
- Use Change Aspect Ratio to create platform-specific cuts without rebuilding edits.
- Deploy karaoke highlights on hooks and calls to action to guide attention.
FAQ
What is the fastest way to add subtitles to video online?
Upload your clip to SubtitlesFast, run AI Subtitles to auto transcribe, tweak timing on the timeline, style your captions, then export with burned-in subtitles.
Should I burn subtitles into the video or rely on platform auto captions?
Burned-in subtitles keep your style and timing consistent across platforms and reposts. Platform auto captions can vary in accuracy and visual style.
Can I make karaoke style captions for short-form videos?
Yes. Use Karaoke Style Subtitles to highlight words as they are spoken. It works well for hooks, lyrics, and quick calls to action.
How do I prepare one video for TikTok, YouTube, and Instagram?
Edit a master, then use Change Aspect Ratio to create 9:16, 16:9, or 1:1 versions. Your captions and style carry over, so you do not need to rebuild.
Can I translate my subtitles for other languages?
Yes. After creating your base subtitles, use Translate Subtitles to produce versions in other languages without re-editing the video.