

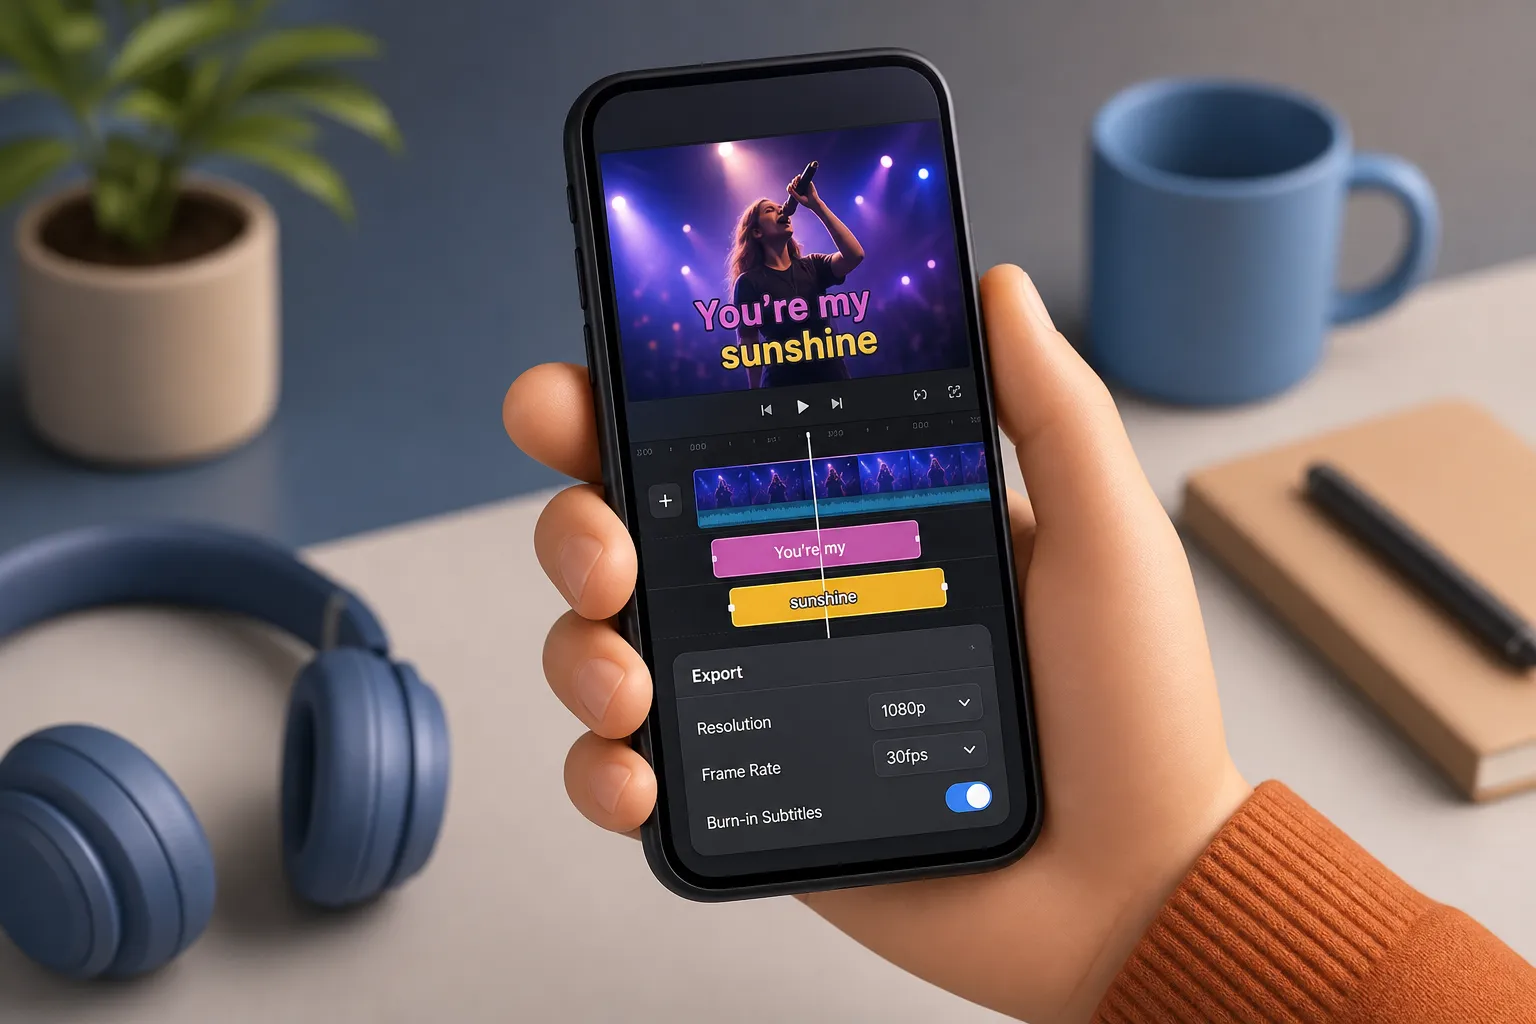
AI text to speech gives you a clean voiceover fast. The hard part is turning that voice into a watchable video that keeps people from swiping away. Use this practical workflow to go from script to publish-ready video in under an hour, with readable, on-brand captions sized for TikTok, Shorts, Instagram, and YouTube.
Before you start: script, voice, and caption plan
You need three basics: a short script, an AI voice that fits your topic, and a plan for captions.
- Script: write for the ear. Sentences under 20 words, one idea per line. Use commas to mark natural pauses and periods to finish thoughts. Read it out loud once. If you stumble, rewrite that phrase. Add quick notes like “smile,” “serious,” or “speed up” to guide delivery.
- Voice: pick a tone that matches the audience. Friendly for tutorials, crisp for product explainers, warm for lifestyle. If your script includes tricky names, brands, or acronyms, spell them phonetically or use SSML if your TTS supports it. Export to WAV at 44.1 or 48 kHz, 16-bit, or high-quality MP3 if WAV is not available.
- Captions: plan for two lines max, 28–42 characters per line. Choose a clean sans-serif font, strong color contrast, and a subtle shadow or stroke. Keep captions inside safe areas so platform UI does not cover them.
We will use SubtitlesFast to add and style captions, translate them, adjust aspect ratios per platform, and export with burned-in subtitles. Feature names below match the buttons you will click.
Step-by-step: AI text to speech to subtitled video
1) Write for the ear, not the page
Short lines sound better with AI voices. Example: “Today, I will show you how to caption a video. It takes five minutes. Watch the words light up as I speak.” Commas shape pacing. Contractions feel natural. Avoid tongue twisters and stacked clauses.
2) Generate the AI voiceover
Create a 30–60 second dry run to tune speed and tone. If the voice feels rushed, slow it by 5 percent or add a few commas. Target a steady level around −16 LUFS for voice tracks so it sits well against music. When it sounds right, render the full take to a clean WAV or high-bitrate MP3.
3) Collect your visuals
Decide what viewers see while the narration plays. Use screen recordings, product shots, simple slides, or b-roll. Change visuals every 3–6 seconds to match the rhythm of your script. Keep everything in one folder and name files clearly so you can find them fast on the timeline.
4) Build the timeline
Open SubtitlesFast and start a project. Drop your main footage on the timeline, then add the AI narration to an audio track. Use Timeline Editing to trim, cut, and rearrange clips so visual hits land on important words. Add light background music with Add Music. Keep it low, about −24 to −20 LUFS under the voice, so the narration stays clear.
5) Auto-generate captions from your AI voice
Run AI Subtitles to transcribe the narration. You get word-level highlighting so you can see exactly where timing drifts. Fix small misreads by editing text directly. The timing updates automatically. This beats manual typing and makes tight edits easy.
6) Style for readability and brand
Open Subtitle Style Customization. Pick a base style, then lock in your font, size, color, and animation. Add a thin outline or drop shadow for contrast over busy video. Aim for a minimum of 4.5:1 contrast between text and background. For a dynamic feel, use an effect that highlights each word as it is spoken, but keep motion subtle so the text stays easy to read.
7) Use Karaoke Style Subtitles for emphasis
Switch to Karaoke Style Subtitles or Karaoke Style Captions when you want emphasis on hooks, definitions, or list items. Highlight the exact words that matter. Many viewers watch muted, so synchronized highlights help them follow the message without sound and can lift retention on short clips.
8) Translate for multilingual reach
Use Translate Subtitles to create localized versions. Keep idioms simple and avoid culture-specific jokes that will not land. After translating, preview the first 20 seconds to catch line breaks that feel awkward and adjust them so each line scans cleanly.
9) Fit every platform with the right frame
Use Change Aspect Ratio to generate 9:16 for TikTok and Shorts, 1:1 for square feed posts, and 16:9 for YouTube. Reposition captions inside safe areas. As a rule of thumb, keep text at least 10 percent away from the left, right, and bottom edges so buttons and progress bars do not cover it. For 1080x1920, test font sizes between 48 and 72 points depending on your typeface.
10) Burn subtitles into video and export
Turn on Burned-In Subtitles so your captions survive downloads, stitches, and reposts. Export H.264 at a bitrate that fits your platform. For 1080p vertical, 8–12 Mbps works well. For dense motion or 4K, go higher. Then open AI Thumbnail Generator to produce multiple thumbnail or cover options and pick the one that frames your subject and text cleanly.
Timing, pacing, and common fixes
- Trim silences at cuts. If the first word in a caption lags, there is likely a few frames of dead air before the word. Nudge the clip or tighten the gap.
- Limit captions to two lines. Break at natural phrases, not in the middle of a word or number. Keep each line a similar length for balance.
- Front-load keywords. Put the most important word in the first half of the caption so skimmers catch it.
- Consistent capitalization. Sentence case reads smoothly. Avoid all caps unless it is a one-word shout.
- Fix flat delivery. Slow the TTS slightly, add commas, and shorten sentences. Regenerate only the lines that sound off and replace them on the timeline.
- Correct brand names. Spell them phonetically in your TTS input or use pronunciation tags if your tool supports SSML.
- Keep captions clear of UI. After you use Change Aspect Ratio, move text above progress bars and away from like or comment buttons.
- Use one animation. Too much motion hurts readability. Pick one animation and one highlight color, then stay consistent across posts.
- Burn your captions. Some platforms drop sidecar files. Burned-In Subtitles guarantees your text stays visible everywhere.
- Check translations. If a joke or idiom loses meaning, rewrite the line in plain language before you run Translate Subtitles again.
Speed up your workflow
- Work in blocks. Build 15–30 second segments. Caption, style, and lock each block, then move on. Smaller chunks make timing easier.
- Save a template. Once you like a caption style, save it and reuse it. A consistent look signals a series and saves setup time.
- Name assets clearly. Use prefixes like 01_hook, 02_demo, 03_cta so you can drag the right clips without hunting.
- Learn shortcuts. Trim, ripple delete, nudge, and split on hotkeys. Ten minutes learning shortcuts can save you hours a month.
- Reset your ears. After looping the same line, take a two-minute break. I use a browser jigsaw puzzle game for a quick reset. It runs in your browser, has a fresh daily puzzle, and lets you adjust piece counts. Come back and listen with fresh attention.
- Preview on a phone. What looks big on desktop can read tiny on a 6-inch screen. Do one mobile check before final export.
Key takeaways
- Write short, clear lines for AI text to speech and export clean audio that sits around −16 LUFS.
- Use AI Subtitles to generate captions, then style them for brand and readability with a single, consistent animation.
- Use Karaoke Style Captions to highlight key words and lift retention on short videos.
- Change Aspect Ratio per platform, keep text in safe areas, and burn subtitles into video before posting.
- Translate Subtitles to reach new audiences without reshooting, and double-check phrasing for clarity.