

Turning a script into a scannable, watchable short video should not feel like a puzzle. Here is a compact workflow that takes you from text to voiceover, then straight into clean, animated subtitles you can publish to TikTok, YouTube Shorts, Reels, or X without fighting formats or timing.
The plan: generate a natural AI voiceover with any text to speech tool you like, then finish in SubtitlesFast to auto caption, style with karaoke effects, translate if needed, and burn captions into the video so every platform shows them exactly as designed.
Where AI text to voice fits in short video production
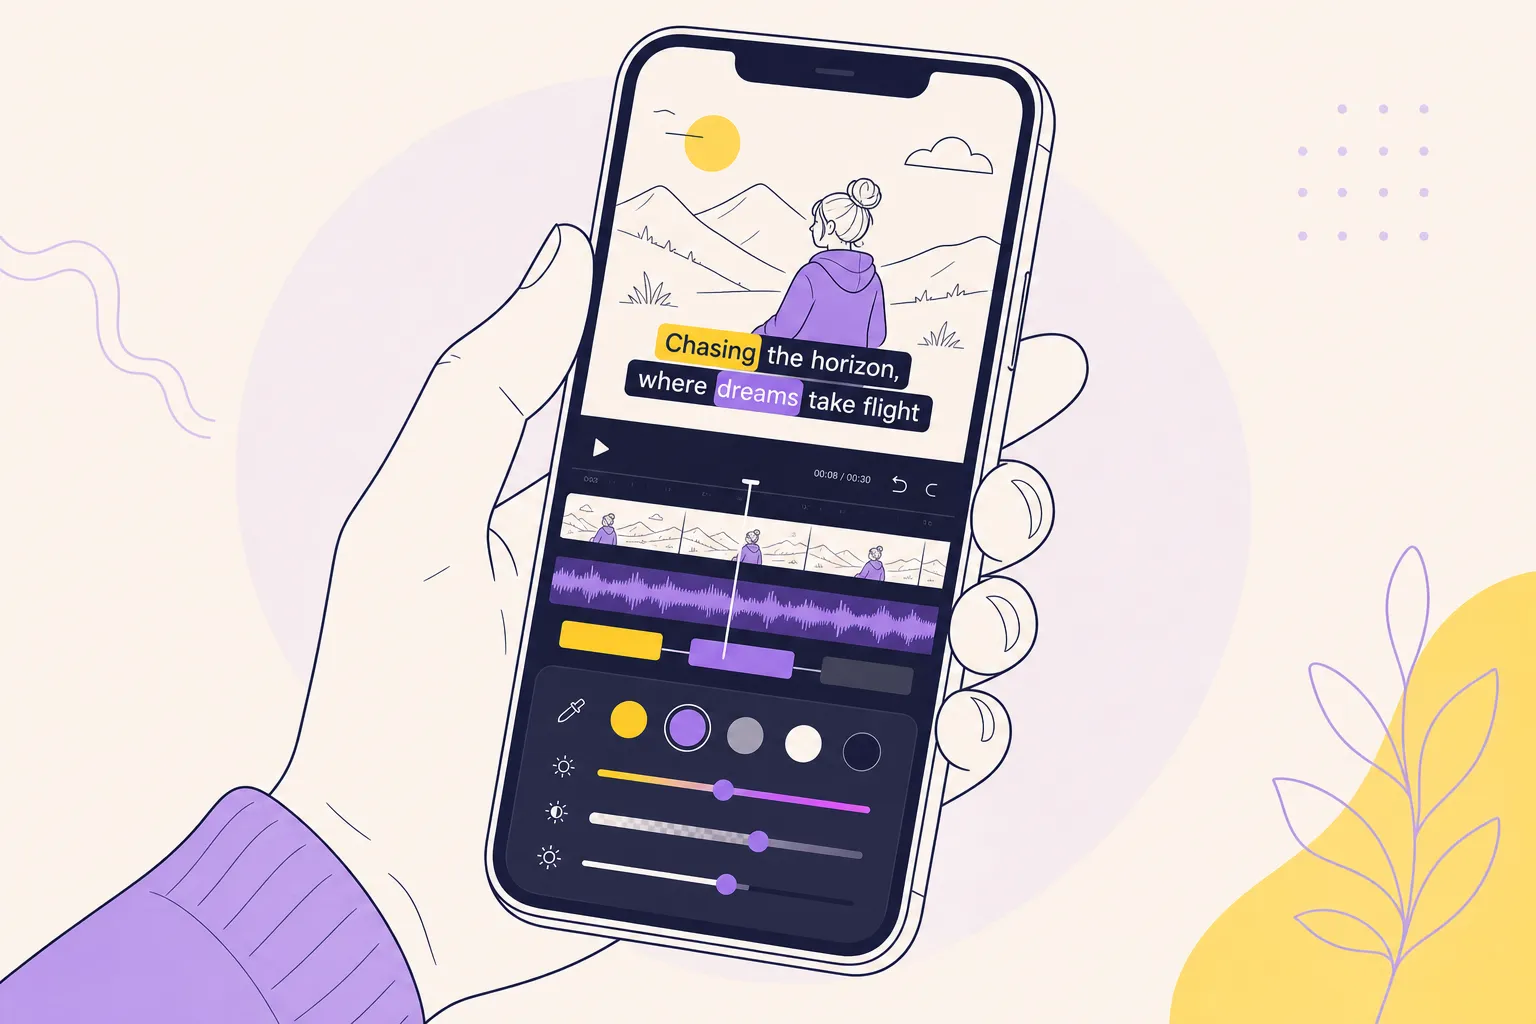
AI text to voice solves narration. What it does not solve is silent autoplay. Most viewers start muted, so your captions do the heavy lifting. Pair a clean AI voice with animated, word-level highlighting so key phrases light up as they are spoken. That keeps pace clear, boosts comprehension, and reduces drop-off on busy feeds.
Step-by-step workflow
-
Define the message and length.
Pick one idea with a single call to action. Time targets: 20 to 40 seconds for TikTok and Reels, 45 to 90 seconds for Shorts that teach or demo. Quick word count benchmarks help: about 35 to 45 words for 15 seconds, 70 to 85 words for 30 seconds, 140 to 160 words for 60 seconds at a natural pace.
-
Collect the source text fast.
Draft in a doc or pull text from your social posts. If your idea starts on X, save time with the X post copier Chrome extension. It copies text, media, author, and links to your clipboard, and it also supports screenshots, a copy history, and bulk-copy so you can move entire threads into your script with one pass.
-
Write for voice, not for reading.
Use short sentences and everyday words. Read your script out loud once and mark natural breaths. Add commas for micro-pauses and periods for full stops. If your TTS supports SSML, add short breaks for emphasis, like a 200 to 300 ms pause after key claims. Break lines between beats so subtitles land on natural phrases.
-
Generate the AI voiceover.
Choose a voice that matches your audience and adjust speed until it fits your time box. A slight slow-down often sounds more human, so try a speaking rate around minus 5 percent to plus 5 percent from default. Aim for 140 to 160 words per minute. Export to 48 kHz WAV or a high bitrate MP3 (256 kbps or higher). If your tool offers noise reduction, breath control, or de-click, enable them lightly. Keep headroom by limiting peaks to about minus 1 dB true peak.
-
Prepare your visuals.
Gather raw clips, screen recordings, product shots, or b-roll. Keep shots 2 to 4 seconds long for short-form pacing. Record or crop for vertical framing from the start. Leave safe margins for captions and platform UI so faces and key UI elements do not compete with text.
-
Assemble on a simple timeline.
Drop your clips and the AI voiceover into the editor. In SubtitlesFast, use Timeline Editing to trim, cut, and snap visuals to the beats of your narration. Leave 0.2 to 0.3 seconds of pad at the start for platform preload and at least 0.5 seconds at the end for a clean finish. Add 2 to 3 frame audio crossfades on cuts to avoid clicks.
-
Create AI subtitles in one click.
Select AI Subtitles to transcribe automatically. SubtitlesFast supports 50+ languages and word-level highlighting for karaoke effects. Proof proper names and brand terms. Keep reading speed comfortable: about 14 to 17 characters per second, with a minimum card duration of 1 second and a maximum of 5 seconds. Split any long lines into two lines.
-
Style for retention with karaoke effects.
Open Subtitle Style Customization. Choose an animated style, then set fonts and colors that match your brand. Practical defaults: font size around 5 to 7 percent of video height, medium to heavy weight, 2 to 4 px stroke, and a soft shadow. Enable Karaoke Style Subtitles for word-by-word highlights. For busy footage, add a semi-opaque box at 60 to 75 percent opacity so text stays legible without hiding the subject.
-
Translate when you need extra reach.
Use Translate Subtitles to create language variants. Keep product names and brand terms untranslated unless you localize them officially. Watch for number and currency formats, and swap idioms for clear equivalents. If you publish bilingual clips, consider placing the secondary language below the primary in a smaller size.
-
Add music and balance the feel.
Use Add Music to lay a light instrumental under the voice. Pick a track with little or no vocals. Keep the bed at least 6 to 8 dB lower than the narration so words always win. If sidechain ducking is available, set it to dip the music about 6 dB when the voice is active. Align musical hits with cuts or on-screen changes.
-
Set the right aspect ratio for the platform.
Use Change Aspect Ratio before final styling: 9:16 for TikTok, Reels, and Shorts, 1:1 for square feeds, 16:9 for YouTube long-form. After resizing, place captions within safe zones, roughly the inner 80 percent vertically, so platform UI does not cover them.
-
Burn subtitles into the video for stress-free posting.
Select Burned-In Subtitles so captions are permanently embedded. This prevents platform apps from reflowing or hiding styles and guarantees karaoke highlights render consistently on every device.
-
Create a thumbnail that actually earns the click.
Use AI Thumbnail Generator to pull options from your footage. Choose a frame with a clear subject, strong contrast, and minimal text. If you add text, keep it to 3 to 5 words in a large font, placed away from UI corners. Even for Shorts and TikTok, covers matter on profile grids and external shares.
Common pitfalls and how to avoid them
The voice sounds flat or rushed
Slow the TTS rate by 5 to 10 percent and split compound sentences. Add commas where you want micro-pauses. Keep peaks below minus 1 dBTP and use light compression (about 3:1 ratio) to smooth dynamics. A steady cadence makes auto captions easier to read and reduces bounce.
Captions cover faces or UI
Move the caption block higher on vertical videos and test on a phone. Keep at least 10 percent padding from the bottom to avoid overlapping usernames, progress bars, and buttons. If the subject moves, anchor captions to a fixed lower third instead of tracking the subject.
Text is hard to read on busy footage
Increase font weight, add a 2 to 4 px stroke, and use a soft shadow or a background box at 60 to 75 percent opacity. Prioritize contrast over brand color purity. White or light yellow text with a dark stroke is reliable on mixed footage.
Too many words per card
Cap each line at about 30 to 35 characters and aim for two lines max. If your read is fast, split lines more often instead of shrinking font size. Word-level karaoke highlighting keeps quick lines readable when they are short and well broken.
Wrong format for the platform
Always set aspect ratio before styling. A layout that works in 16:9 will not survive a switch to 9:16 without edits. Use Change Aspect Ratio first, then fine tune placement and size.
Subtitles get lost on upload
Export with Burned-In Subtitles if you want full control. Sidecar files like SRT or VTT are fine for accessibility, but platform players may ignore styles or shift timing.
Publishing checklist
- Voiceover exported at 48 kHz, peaks below minus 1 dBTP, loudness around minus 16 LUFS for stereo.
- Timeline reviewed at actual platform aspect ratio (9:16, 1:1, or 16:9) before final styling.
- AI Subtitles generated, proofed for names and numbers, and split into short two-line cards.
- Karaoke Style Subtitles enabled, with brand-matched fonts, colors, and a readable stroke or box.
- Captions placed inside safe zones so platform UI does not overlap on mobile.
- Burned-In Subtitles selected for export to preserve timing and effects.
- Export set to 1080 x 1920 at 30 or 60 fps, H.264, high profile, with a clean thumbnail selected.
Key takeaways
- Write a voice-friendly script first, then generate AI text to voice at a natural pace.
- Finish in SubtitlesFast to auto caption, style with karaoke effects, translate, and burn subtitles into the video.
- Use high-contrast caption styling and smart line breaks to keep silent viewers engaged.
- Set aspect ratio early and export with burned-in captions so posts look right everywhere.