

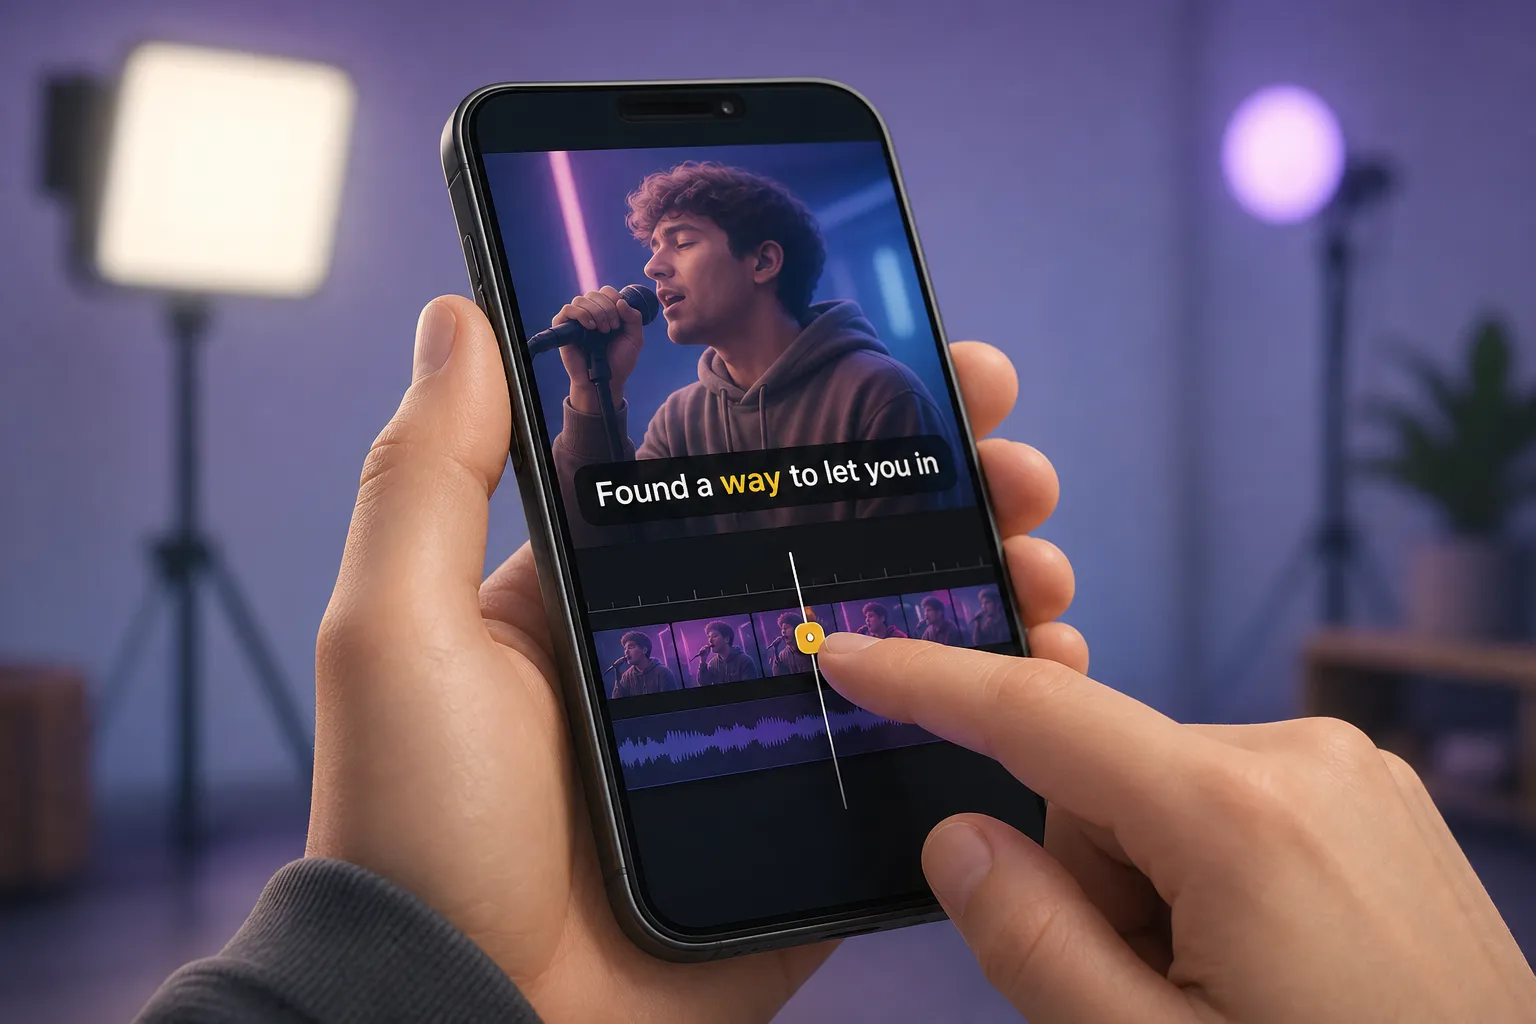
Most people scroll with the sound off. Karaoke style captions add motion and color that pull the eye, then guide attention word by word so more viewers finish your clip. This walkthrough gives you a practical workflow to create clean, animated highlights from first style choice to timing, polish, and export.
Pick a karaoke caption style
Decide the look before you time anything. Your style sets readability, pace, and mood. Lock the canvas first with Change Aspect Ratio so your layout fits every platform without rework. Common presets that cover most posts:
- 9:16 vertical 1080×1920 for TikTok, Reels, Shorts.
- 16:9 landscape 1920×1080 for YouTube.
- 1:1 1080×1080 or 4:5 1080×1350 for Instagram feed.
Mobile-first styles that read fast
- Fill highlight. Each word fills with a bright color as you speak. Aim for a smooth fill that completes near the end of the spoken word. Clean and highly legible.
- Underline sweep. A bar travels under each word. Keep the bar 6 - 8 px thick on a 1080×1920 canvas and match the sweep to syllable length.
- Bounce or scale. Words pop 105 - 112% on hit. Use sparingly for hooks or punch words so the screen does not feel jumpy.
- Mask reveal. Letters reveal left to right. Pairs well with bold type and brand colors when you want a sleeker feel.
Open your editor and select Karaoke Style Subtitles or Karaoke Style Captions. Place the caption block where it will always be visible. Keep at least 240 px above the bottom edge on a 1080×1920 canvas so platform UI does not cover your text.
Auto-transcribe and sync words
Manual timing is slow. Use AI Subtitles to auto-transcribe your audio, then map each spoken word to time for true karaoke highlights.
Fast, accurate setup
- Upload your clip, pick the spoken language, and choose the correct sample rate if prompted. Clean audio in, clean captions out.
- Click Generate. Add uncommon names, brands, or jargon to a custom word list if your editor supports it. This reduces fixes later.
- Toggle word-level highlighting. If the style has a separate control for syllables, keep it off unless you are matching a song lyric.
Publishing globally? Run Translate Subtitles to create separate language versions. Keep one language per export. Mixed-language burned-in captions are harder to read at speed.
Fine-tune timing on the timeline
Even strong auto captions deserve a timing pass. Use Timeline Editing to match your delivery and make each line effortless to read.
Practical timing tips
- Trim dead air. Cut silence at the head and tail. Snap the first highlight to the first clear consonant so the effect starts with your voice.
- Keep chunks small. One to two lines per caption is ideal. Break long sentences at natural pauses or punctuation.
- Lead slightly. Let a highlight land a frame or two early so it feels responsive rather than late.
- Group quick words. If tiny words fire too fast, group them into a short phrase and highlight the phrase as a unit.
- Budget display time. Give a typical two-line caption 1.8 - 2.5 seconds on screen. Short punch lines can be quicker if the words are very short.
- Fix the basics. Correct names, numbers, slang, and brand terms. Swap auto commas for real pauses that fit your read.
Drag block edges to set in and out points. Nudge single words when auto-sync misses a syllable. Zoom the timeline so you can move by small increments, then scrub while speaking the line to confirm the highlight tracks your voice without jitter.
Customize fonts, colors, and animations
Once timing feels natural, move to the visual system with Subtitle Style Customization. The aim is instant legibility on a small phone, not just a pretty frame.
Make it readable everywhere
- Type. Use one sans-serif family in Bold or SemiBold. On a 1080×1920 canvas, 48 - 64 px works for most shots. Increase size on complex footage.
- Contrast. Light text with a dark stroke, or dark text with a light shadow. A 4 - 6 px stroke keeps edges clean against busy backgrounds.
- Color system. Pick a neutral base for the line and a single bright highlight color, for example white text with a yellow fill like #FFD54A or a cyan underline. Avoid pure red on black, which can fringe on compression.
- Line width. Constrain lines so eyes travel a short distance, roughly 32 - 42 characters per line. Keep even margins, center or left-align consistently.
- Animation intensity. Set fill or sweep to finish cleanly inside the spoken word. If the background is busy, lower motion and let timing do the work.
If your video needs music, add it now with Add Music. Keep music at least 10 - 14 dB lower than the voice so the highlight remains the star. For channel packaging, generate a cover with AI Thumbnail Generator so every upload lands with a clear, on-brand visual.
Export and test for readability
Finish with a share-ready master. Choose Burned-In Subtitles so your karaoke effect looks the same everywhere. Sidecar files cannot reproduce word-by-word animation.
Smart export habits
- Pick the right frame. 9:16 at 1080×1920 for TikTok, Reels, and Shorts. 16:9 at 1920×1080 for YouTube. 1:1 or 4:5 for Instagram feed.
- Use common codecs. MP4 H.264 video, AAC audio at 44.1 or 48 kHz. 30 fps is safe unless you shot 60 fps and want smoother motion.
- Bitrate targets. 8 - 16 Mbps for 1080p vertical keeps text crisp without huge files. Go higher for complex footage if needed.
- Respect safe areas. Keep captions away from platform UI. On a 1080×1920 canvas, leave roughly 240 px at the bottom and 120 px at the top.
- Spot-check on your phone. Bright daylight, sound off. Watch at normal speed and at 1.25×. If you can follow every word, you are good.
- Duplicate for platforms. Use Change Aspect Ratio to make platform-specific versions, then reframe the subject so faces and captions stay centered.
Upload and watch the platform preview. Auto captions on social have improved, but burned-in karaoke captions give you full control of pacing, color, and animation. Treat captions like on-screen graphics.
If search traffic matters alongside your video strategy, pair consistent captions with a simple publishing system. For written posts, a tool like RankGoat can handle recurring SEO work while your videos carry the message on social.
Workflow recap
- Pick a Karaoke Style Subtitles preset and set aspect ratio first.
- Run AI Subtitles, enable word-level highlighting, add custom terms.
- Refine timing in Timeline Editing until the highlight tracks your voice.
- Dial Subtitle Style Customization for type, color, and animation.
- Translate Subtitles if needed, then export with Burned-In Subtitles.
Why karaoke captions help retention
They point the eye to the exact word that matters, which lowers effort. Viewers can tune in mid-sentence and still catch the message. Motion in the caption area also acts as a secondary hook during cuts and b-roll, which helps hold attention on silent autoplay.
Extra tips for creators posting daily
- Save a style preset and reuse it so every edit starts at 80% done.
- Batch work. Transcribe several clips, then do one timing pass across all.
- Write for eyes. Short phrases, simple punctuation, no wall of text.
- Localize with intent. Swap culture-specific phrases for neutral ones so timing still feels natural after translation.
When to skip animation
Not every frame needs movement. Tutorials and screen recordings often read better with a subtle underline or color change. You can mix styles in one edit, high energy for hooks, calmer during explanations.
Use cases to try next
- Music covers with fills that match phrasing.
- Comedy shorts where the punch word pops on impact.
- How-to clips that underline jargon as you define it.
- Announcements where dates and names get a distinct highlight color.
Quality checklist before you post
- No typos, correct names, clean punctuation.
- Readable at arm’s length on a small phone.
- Consistent style across the full video.
- Highlights keep pace without lag or jitter.
- Captions sit clear of platform UI and edges.
Tool features that speed this workflow
- Karaoke Style Subtitles and Karaoke Style Captions for word-by-word highlights.
- AI Subtitles to auto-transcribe with word-level timing.
- Timeline Editing to trim, cut, and nudge timing precisely.
- Subtitle Style Customization with animated styles, fonts, and colors.
- Translate Subtitles for multilingual versions.
- Burned-In Subtitles for exports that look the same on every platform.
- Change Aspect Ratio for TikTok, YouTube, Instagram, or X layouts.
- Add Music and AI Thumbnail Generator to round out the package.
Key takeaways
- Choose a readable karaoke style and set aspect ratio before timing.
- Use AI Subtitles for fast word sync, then fine-tune on the timeline.
- Bold type, high contrast, and steady animation beat flashy effects.
- Export burned-in captions so your highlights display exactly as designed.
With a tight process and a reusable preset, you can add subtitles to video online that look polished, read fast, and lift retention. Lock your template once, then focus on the story in every new clip.
FAQ
What is an animated karaoke subtitles editor?
It is a video editor that creates word-by-word caption highlights in sync with speech. The text animates so each word lights up as it is spoken.
How do I add karaoke style captions to TikTok or YouTube?
Create word-level captions in the editor, set the canvas to 9:16 for Shorts or TikTok, then export burned-in subtitles and upload to the platform.
Can I translate karaoke subtitles?
Yes. Generate your main captions, then create translated versions and export separate videos for each language so timing and style stay clear.
What colors and fonts work best for karaoke subtitles?
High-contrast colors with a stroke or shadow are easiest to read. Use a bold or semibold sans-serif and keep line lengths short on mobile.
What does it mean to burn subtitles into video?
Burning in means the captions are embedded permanently in the video pixels. They display the same way on every platform and device.