

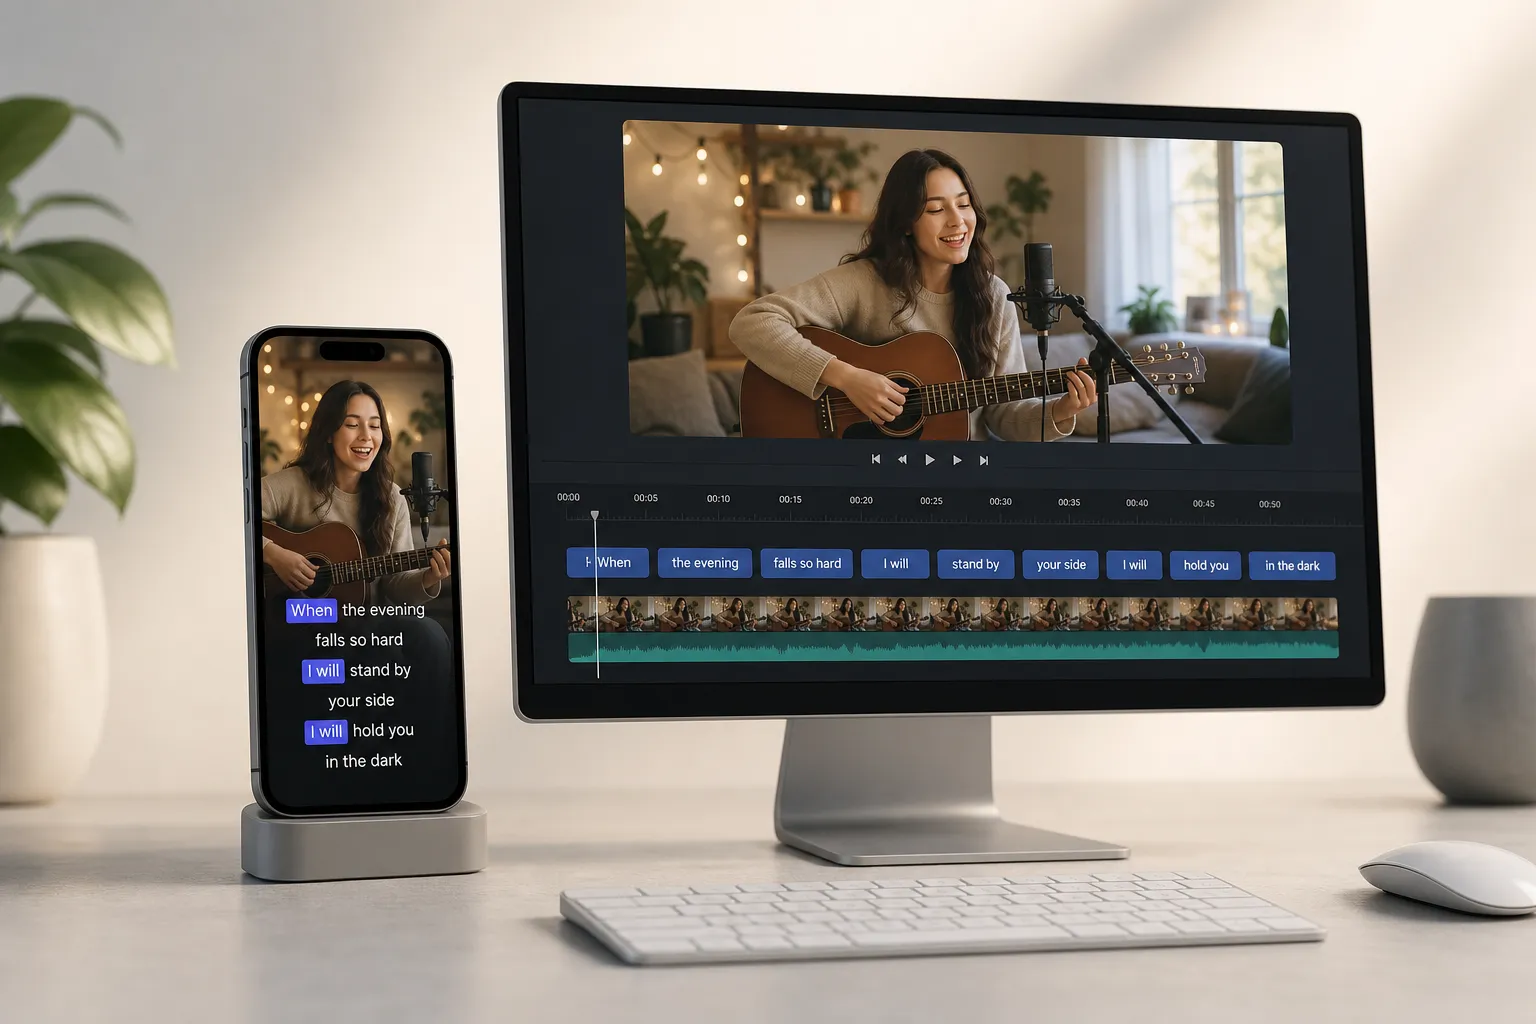
Most people watch social video with the sound low or off. If your captions miss words, sit under buttons, or flicker out of rhythm, people swipe. Auto captions help, but TikTok and YouTube do not treat them the same.
This checklist shows what each platform actually does, how to keep names and numbers correct, how to style captions that are easy to read, and a simple workflow to ship once and post everywhere without redoing work.
TikTok vs YouTube: what actually happens
- Where captions live
- TikTok: You can burn text into the video or use app captions that some viewers can toggle. Burned-in text stays visible in every save, stitch, or repost.
- YouTube: Auto captions generate a closed caption track that viewers can toggle. You can upload your own SRT or burn text into the video itself.
- Speed to publish
- TikTok: Fast if you accept in-app styling and basic edits. If you prep captions before upload, you can still post same day and keep a consistent look.
- YouTube: Auto captions appear after processing. If you want accuracy at publish, upload your own captions file or a burned-in version.
- Editing surface
- TikTok: You can tap to edit lines before posting, but timing and advanced layout controls are limited.
- YouTube: You can edit text and timing in YouTube Studio, replace the track with your own, or use a video that already has captions burned in.
- Best use cases
- TikTok: Big, high-contrast on-screen text and karaoke-style word highlights that match the vertical feed.
- YouTube: Searchable transcripts and closed captions for long videos. For Shorts, bold burned-in text performs better than small CC overlays.
Accuracy and editing control
Common failure points
- Names, brands, and slang get mangled by auto text.
- Numbers, prices, and URLs often need manual fixes.
- Crosstalk, fast delivery, and background noise drop words.
- Accents or code-switching confuse punctuation and casing.
Quick fixes on each platform
- TikTok
- Record clean audio and avoid talking over other speakers.
- Use auto captions, then tap through every line to fix names and numbers.
- If timing is off or you want karaoke highlights, prepare captions before upload and burn them in.
- YouTube
- Let auto captions generate, then open YouTube Studio to correct text and timing.
- For guaranteed accuracy, upload your own SRT or a video with captions already burned in.
- For long videos, keep a master transcript. It speeds up corrections and helps with translations.
A fast review pass that catches 90% of errors
- Build a short “terms list” before you record: product names, people, and places. Keep it on screen while editing.
- After auto-generate, scan only the nouns and numbers first. Then do a timing pass to nudge late or early lines.
- Listen at 1.25x while watching the captions. If you can still follow at speed, the timing is tight enough.
- For tough sections, switch to phrase-level chunks instead of word-level highlights. Fewer sync points mean fewer errors.
Style and placement that survives the feed
Readable captions beat fancy ones that blend into the background. Style decisions matter more in tall, fast feeds.
- Size and lines
- Use 1 to 2 lines. Split on natural pauses.
- Keep each line short enough to read in a glance. Aim for tight phrases, not full sentences.
- Contrast
- Add a subtle box or stroke so text stands up to busy footage. A thin black outline or a semi-opaque background works across clips.
- Use one brand color for highlight, one neutral for base text. Avoid rainbow gradients that reduce legibility.
- Placement and safe zones
- Keep captions away from the very top and bottom where buttons, titles, and progress bars sit. A simple rule: avoid the outer 10% top and bottom and 5% sides.
- For vertical, center the block slightly above the bottom third so it clears the action and UI.
- Test on an actual phone. Scrub through, watch for overlaps with usernames, like buttons, and timestamps.
- Motion
- Karaoke-style word or phrase highlights help fast talk track. Keep animations short and consistent so they do not distract.
- Reserve big bounces and wipes for emphasis, not every line.
- Closed vs burned-in
- TikTok and Shorts: burned-in captions stay visible and on-brand in the feed and in reposts.
- YouTube long-form: closed captions are flexible and searchable. You can still burn in short on-screen callouts for key moments.
A fast cross-platform workflow
- Start with clean audio. Use a decent mic, reduce room echo, and avoid music under dialogue until the end. While recording tutorials or demos, tools like ScreenPitch help you capture smooth motion that makes captions easier to time and read.
- Generate once. In an ai subtitles generator like SubtitlesFast, create AI Subtitles in 50+ languages with word-level highlighting. Let the tool do the first pass so you are not typing from scratch.
- Fix the hard stuff first. Correct names, jargon, URLs, and numbers. Then do a single timing pass for late or early entries.
- Style once, use everywhere. Use Subtitle Style Customization with 30+ animated styles. Pick your font, base color, highlight color, background box or stroke, and default position. If you like karaoke highlights, turn on Karaoke Style Subtitles or Karaoke Style Captions for word or phrase emphasis.
- Set aspect ratios. Use Change Aspect Ratio to create 9:16 for TikTok and Shorts, 16:9 for YouTube long-form, and 1:1 if you also post to feeds that prefer square. Check safe zones on each canvas so placement stays consistent.
- Export per platform
- TikTok and Shorts: export Burned-In Subtitles so text stays visible everywhere.
- YouTube long-form: export an SRT or VTT for closed captions. If you want on-screen emphasis for specific lines, also export a subtle burned-in version.
- Translate and repurpose. Use Translate Subtitles to create language variants from the same master timing. Keep timing locked so you do not re-edit. If you cut a long video into Shorts, keep one master project and create alternate cuts with Timeline Editing.
- Polish the package. Add Music after captions so dialog stays clear. For YouTube, try an AI Thumbnail Generator to quickly test two or three cover ideas that match your caption colors and type.
- QC before publish
- Watch on a phone at actual size, sound off.
- Check 3 points: names, numbers, and calls to action.
- Scrub under UI elements on each platform. If anything collides, nudge position and re-export.
Key takeaways
- TikTok favors big, burned-in captions that read fast in a vertical feed. YouTube long-form works best with closed captions, while Shorts benefit from burned-in text.
- Auto captions are a starting point. Fix names and numbers, then adjust timing. One tidy review pass catches most errors.
- Style for legibility first. Use strong contrast, 1–2 lines, and safe zones that clear feed UI.
- Prepare once, publish everywhere. Generate, edit, and style in one project, then export the right version for each platform.
- If you want consistent fonts, motion, and placement, do the styling before upload and burn captions into versions that need always-on text.