

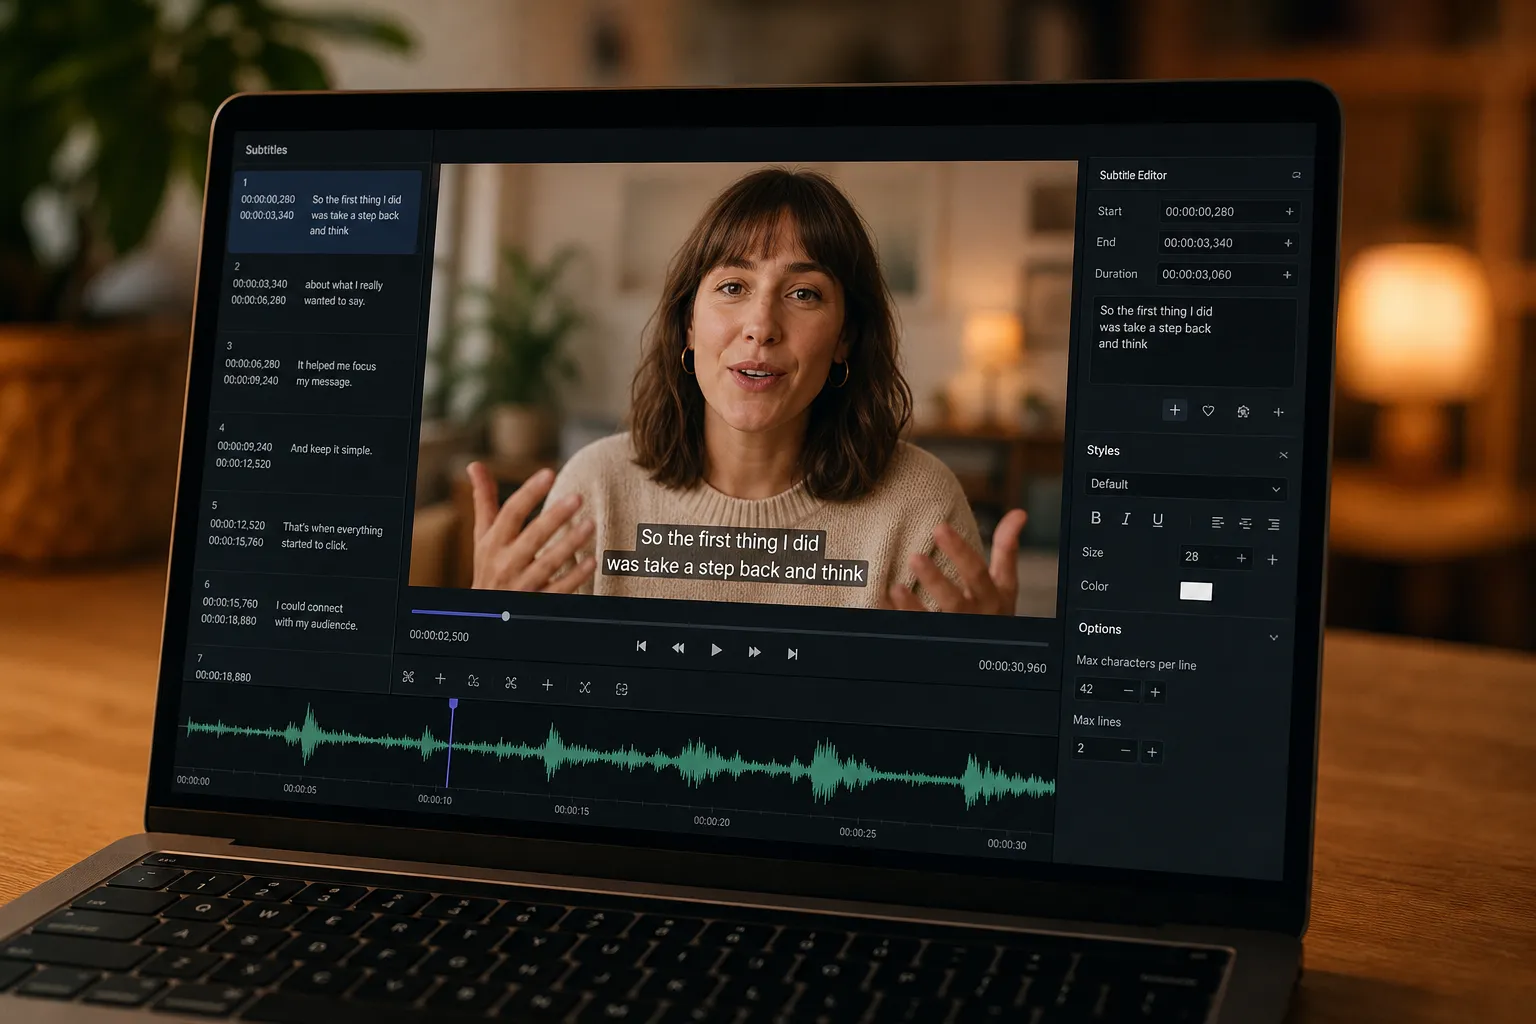
You want crisp captions without a watermark, fast. Good news: you can get there with free tools if you follow a simple workflow. Below is a no-nonsense guide to the best free options, what each one is great at, where they fall short, and how to dial in accuracy, timing, and style. If you publish often or need brand-level looks, I will also show when a dedicated AI subtitle editor is worth it.
What to expect from free no-watermark tools
Free software covers the core steps. You can generate a transcript, edit an SRT or ASS file, and burn subtitles into a video for any platform. Expect to combine two or three tools:
- Step 1: Transcribe audio to text (AI optional).
- Step 2: Edit timing, line breaks, and style.
- Step 3: Export soft subs (SRT) or hard subs (burned-in) for TikTok, Instagram, YouTube, and Shorts.
Tradeoffs: you give up one-click templates, fancy animations, and an all-in-one timeline. You gain control, zero watermarks, and a repeatable process. If you need branded looks, translations, and word-level highlighting at scale, a pro web editor will save time. Until then, the free stack below gets solid results.
The best free subtitle tools without watermarks
1) Aegisub
Aegisub is the precision pick for timing and styling in the ASS format. It runs offline and is ideal when every frame matters.
- Pros: Frame-accurate timing, per-style control, no watermark. Perfect for complex layouts.
- Cons: No built-in speech-to-text. You burn subtitles with another tool.
- Try this: Create a style with font size 48 for 1080p, outline 3–4 px, shadow 2 px, alignment 2 (bottom center), and a 10% bottom margin. Save as ASS for styling to survive burn-in.
Best for: Editors who want exact timing and visual consistency.
2) Subtitle Edit
Subtitle Edit shines at cleanup and syncing. It is fast for fixing line breaks, punctuation, and timing drifts.
- Pros: Visual waveform and spectrogram, batch fixes, no watermark.
- Cons: Manual-first workflow. Limited styling in SRT.
- Try this: Tools > Fix common errors, then Synchronize > Adjust all times. For auto-align, use Audio to text align. If you use the Vosk plugin, you get offline speech recognition for many languages.
Best for: Creators who already have a draft SRT and need tight sync.
3) HandBrake
HandBrake is the easy way to burn finished subs into a video. Pair it with an SRT or an ASS file from Aegisub.
- Pros: Reliable hard-sub exports, good quality presets, no watermark.
- Cons: Does not generate or edit text. Styling comes from your subtitle file.
- Try this: Preset Fast 1080p30, Video H.264, Constant Quality RF 20–22. Subtitles tab: add your file, set UTF-8, check Burn In. For ASS styling, make sure you import the ASS file, not SRT.
Best for: Anyone who needs a clean hard-subbed file for social platforms.
4) FFmpeg
FFmpeg is the swiss army knife for batch jobs, automations, and edge cases. It can overlay SRT or ASS and handle nearly any format.
- Pros: Scriptable, fast, watermark-free. Works at scale.
- Cons: Command line only. No visual editor.
- Try this:
For SRT:ffmpeg -i input.mp4 -vf subtitles=subs.srt -c:v libx264 -crf 20 -preset veryfast -c:a copy output.mp4
For ASS styling:ffmpeg -i input.mp4 -vf ass=subs.ass -c:v libx264 -crf 20 -preset veryfast -c:a copy output.mp4
Best for: Technical users and teams automating caption pipelines.
5) YouTube Studio
YouTube Studio can auto caption your upload and lets you edit timings in the browser. Captions display on YouTube without a watermark.
- Pros: Free auto captions, quick edits before publish, easy multi-language tracks.
- Cons: Captions live on YouTube. To use them elsewhere, export an SRT and burn with HandBrake or FFmpeg.
- Try this: After processing, go to Subtitles, review the auto track, fix names and numbers, then Actions > Download > .srt to use outside YouTube.
Best for: Creators whose audience is mainly on YouTube.
6) DaVinci Resolve Free
Resolve Free includes subtitle tracks on a full timeline. Handy when captions are part of a larger edit.
- Pros: No watermark on standard exports. Native timeline control and style presets.
- Cons: Bigger install and learning curve. AI transcription requires paid features or an external transcript.
- Try this: Add Subtitle Track, paste or import SRT, set Track Style for font, size, and box. Deliver page > Subtitle Settings > Burn into video for hard subs.
Best for: Editors who already cut in Resolve.
7) Whisper-based desktop apps
Open-source Whisper models power free local caption apps. They are slow on old laptops but accurate on clear speech.
- Pros: Good accuracy, runs offline for privacy, exports SRT or VTT.
- Cons: Setup can be technical. No timeline styling by default.
- Try this: Use a medium or small model for speed. Turn on punctuation and word timestamps. Then clean the SRT in Subtitle Edit and burn with HandBrake.
Best for: Users who want free AI transcription in a two-step workflow.
Accuracy, timing, and style that pass the eye test
Nail the first pass, then polish
- Names, numbers, brands, and jargon: correct these first. Add a custom glossary if your tool supports it.
- Music and non-speech: use brackets like [music] or [laughter] sparingly, only when it helps context.
- Cross-talk: split into separate cues when speakers overlap, or label the speaker at the start of a line.
Timing rules that read well
- Reading speed: aim for 17–20 characters per second on mobile, max 2 lines, 32–42 characters per line.
- Durations: keep cues on screen for 1.0–6.0 seconds. Avoid flashes shorter than 0.8 seconds.
- Gaps: leave 2 frames between cues to prevent flicker. Do not stack overlapping subtitles unless you mark speakers.
- Sync to picture: land key words on cuts and actions so viewers feel the rhythm even with sound off.
Styles that stay readable everywhere
- Contrast first: white or light yellow text with a dark outline or box. Outline 3–4 px at 1080p, 5–6 px at 4K.
- Safe area: bottom center, 10% margin from edges so UI chrome and captions never collide.
- Format choice: SRT is universal but limited in styling. ASS retains fonts, sizes, colors, and placements for consistent burn-in.
- Placement shifts: move captions to the top when lower thirds or subtitles would clash with on-screen text.
When to upgrade to a pro workflow
Free stacks work. They also add friction each time you publish. If you post weekly or care about brand polish, an all-in-one AI editor speeds you up and looks better out of the box.
- Auto captions at scale: Generate subtitles in 50+ languages with word or phrase-level highlighting. Great for fast-turn Shorts and long YouTube videos.
- On-brand styles in one click: Choose from animated and static templates, then lock in fonts, colors, outlines, and safe margins for your channel.
- Burn-in for every platform: Export square, vertical, or horizontal with crisp hard subs that survive recompression on TikTok, Instagram, YouTube, and X.
- Translate and repurpose: Auto-translate top clips, swap aspect ratios, and trim on a timeline without bouncing between apps.
- Thumbnails and packaging: Generate a matching thumbnail, then export captions as SRT or burn them in from the same place.
If that sounds like your pace, SubtitlesFast keeps it simple. You add subtitles to video online, style them for readability, translate when needed, then burn subtitles into video for export in one place. Our criteria for choosing the free picks above mirrors how builders pick tools too. If you are weighing stacks for your own internal tools, this practical approach is similar to how developers evaluate a Nuxt SaaS starter kit and the best Nuxt admin templates for 2026 by fit, speed, and long-term maintainability.
Key takeaways
- Free tools can generate, edit, and burn subtitles with no watermark if you combine two or three steps.
- Use SRT for reach and ASS for styled burn-ins. HandBrake and FFmpeg are reliable for hard subs.
- Keep reading speed humane, protect contrast and safe areas, and sync to picture for engagement.
- If you publish often or need branded looks, a dedicated AI subtitle editor saves hours each week.