

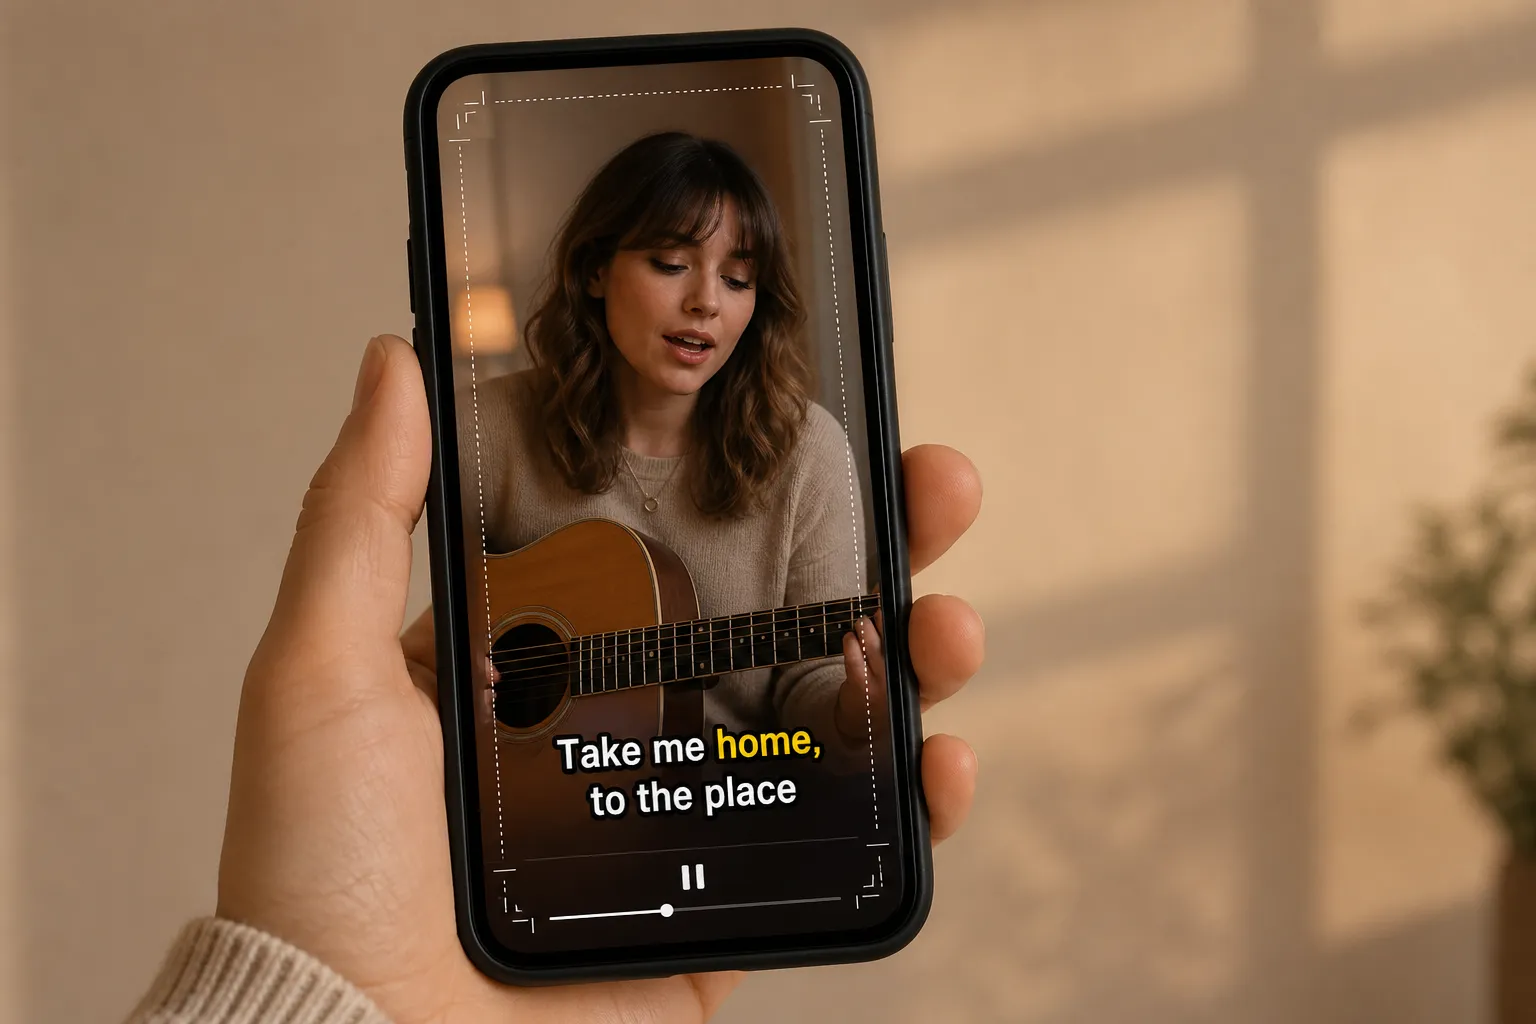
You upload the same clip to Reels, Shorts, and TikTok and the app UI eats your captions or the text turns to fuzz. The fix is not luck, it is a repeatable export plan. Use this checklist to keep subtitles sharp, in-frame, and readable everywhere, then ship platform-ready masters without guesswork.
1. Style captions for legibility, not just looks
Pick sans-serif fonts that survive tiny screens: Inter, Roboto, SF Pro, Open Sans, Montserrat, or Arial. Avoid ultra-thin weights and ornate scripts. Use Medium/Semibold for body captions and Bold for emphasis.
Size by video height so it scales across formats:
- General rule: 5% to 7% of frame height.
- 1080x1920 (vertical): about 96–134 px.
- 1920x1080 (horizontal): about 54–76 px.
Keep lines to two with 32–40 characters per line. Set line height around 120%–140% so stacked lines breathe without touching UI. Tracking should be neutral (0 to +1%).
Contrast that works on busy footage:
- White text with a 2–4 px black stroke (about 0.2% of frame height) is the most reliable.
- Or use a semi-opaque background box: 70%–80% black with 8–12 px padding above/below and 12–16 px left/right.
- If you prefer shadows, keep them tight: 50%–70% black, 4–6 px blur, 2–3 px vertical offset.
In SubtitlesFast, use Subtitle Style Customization to lock in font, weight, color, stroke, and spacing. Start with high contrast, then add motion. For music or punchy dialogue, Karaoke Style Subtitles and Karaoke Style Captions give word-by-word highlights that guide the eye without cranking font size.
2. Keep text inside real safe zones
Every app draws UI over your video. Give captions breathing room so no icon or scrub bar sits on your words.
- Vertical (9:16, 1080x1920): keep the subtitle baseline at least 12%–15% above the bottom (≈230–290 px). Leave 5%–6% padding on the left and right (≈54–65 px).
- Horizontal (16:9, 1920x1080): stay 5%–10% away from all edges (≈54–108 px).
These buffers account for overlays like likes, comments, and captions on TikTok/Reels and the progress bar on Shorts. If you add a call-to-action or a handle, place it above your subtitles and keep at least one text height of space between them.
Limit captions to two lines and avoid manual line breaks that could wrap oddly on narrower phones. When you resize for different ratios, recheck line breaks and safe zones before exporting.
3. Export the right ratio and settings per platform
Make a dedicated master for each destination. Suggested canvases:
- TikTok, Reels, Shorts: 1080x1920 (9:16)
- YouTube long-form: 1920x1080 (16:9)
- Instagram feed: 1080x1350 (4:5) or 1080x1080 (1:1)
Recommended technical settings that travel well:
- Codec/container: H.264 in MP4, High Profile, progressive
- Frame rate: match source (24/25/30/60), export constant frame rate
- Bitrate: 8–12 Mbps for 1080x1920, 12–20 Mbps for 1920x1080, 6–8 Mbps for 1080x1080/1080x1350
- Audio: AAC, 48 kHz, 128–192 kbps
Use SubtitlesFast’s Change Aspect Ratio to swap between 9:16, 16:9, 1:1, and 4:5 without re-editing. After each change, check safe zones and reflow long lines. If pacing feels loose after reframing, tighten with Timeline Editing before the final render.
4. Burn, translate, and time subtitles you can trust
Auto captions inside apps vary by platform and can be turned off by viewers. If you want guaranteed visibility and a consistent look, burn subtitles into video. SubtitlesFast’s Burned-In Subtitles exports embed captions into pixels so they survive recompression, resizing, and reposts.
Speed up prep with an ai subtitles generator. SubtitlesFast AI Subtitles transcribes 50+ languages with word-level timing. Clean names, numbers, and brand terms, then aim for a reading speed under 15 characters per second and no more than two lines at a time. For music-driven edits, use Karaoke Style Subtitles to highlight words on the beat and improve comprehension at small sizes.
Posting globally? Use Translate Subtitles to create local versions. Expect 10%–20% expansion in some languages; shorten lines or bump font size a notch if needed. For YouTube long-form, you can also upload an SRT sidecar for search while keeping burned-in captions for style consistency. For Shorts, TikTok, and Reels, burned-in is the simplest way to control placement and design.
5. Run quick device tests before you publish
Export a 5–10 second test. AirDrop or message it to your phone and watch with sound off at arm’s length. Ask:
- Can I read every word in bright light?
- Do any letters touch app UI or the progress bar?
- Does the animation help clarity, or does it distract?
Then do three passes on the full master:
- Small-phone pass: iPhone Mini/SE or a compact Android. Check thin glyphs and line breaks.
- Busy-background pass: scrub through shots with motion, specular highlights, or high detail. Confirm stroke/box keeps contrast.
- Speed pass: preview at 0.75x and 1.25x to catch timing hiccups around cuts.
If anything feels off, trim or shift beats in Timeline Editing and re-export. Need a strong first frame? Use the AI Thumbnail Generator to make a clean cover for YouTube or the opening frame for Reels. If you add music, pick a track in Add Music that supports the dialogue rather than competing with it.
If your videos drive marketplace sales, connect the front end with a tidy back end. Sellers on Mercado Libre often pair content with Mercado Libre order and message management so marketing and fulfillment stay in sync.
Key takeaways
- Use readable sans-serif fonts, 5%–7% of frame height, with a stroke or box for contrast.
- Respect safe zones: 12%–15% bottom margin on vertical, 5%–10% from edges on horizontal.
- Export platform-specific masters (9:16, 16:9, 4:5/1:1) with solid bitrates and constant frame rate.
- Burn subtitles for consistent visibility; translate and retime for local audiences when needed.
- Test a short clip on a real phone, in bright light, before publishing the full edit.