

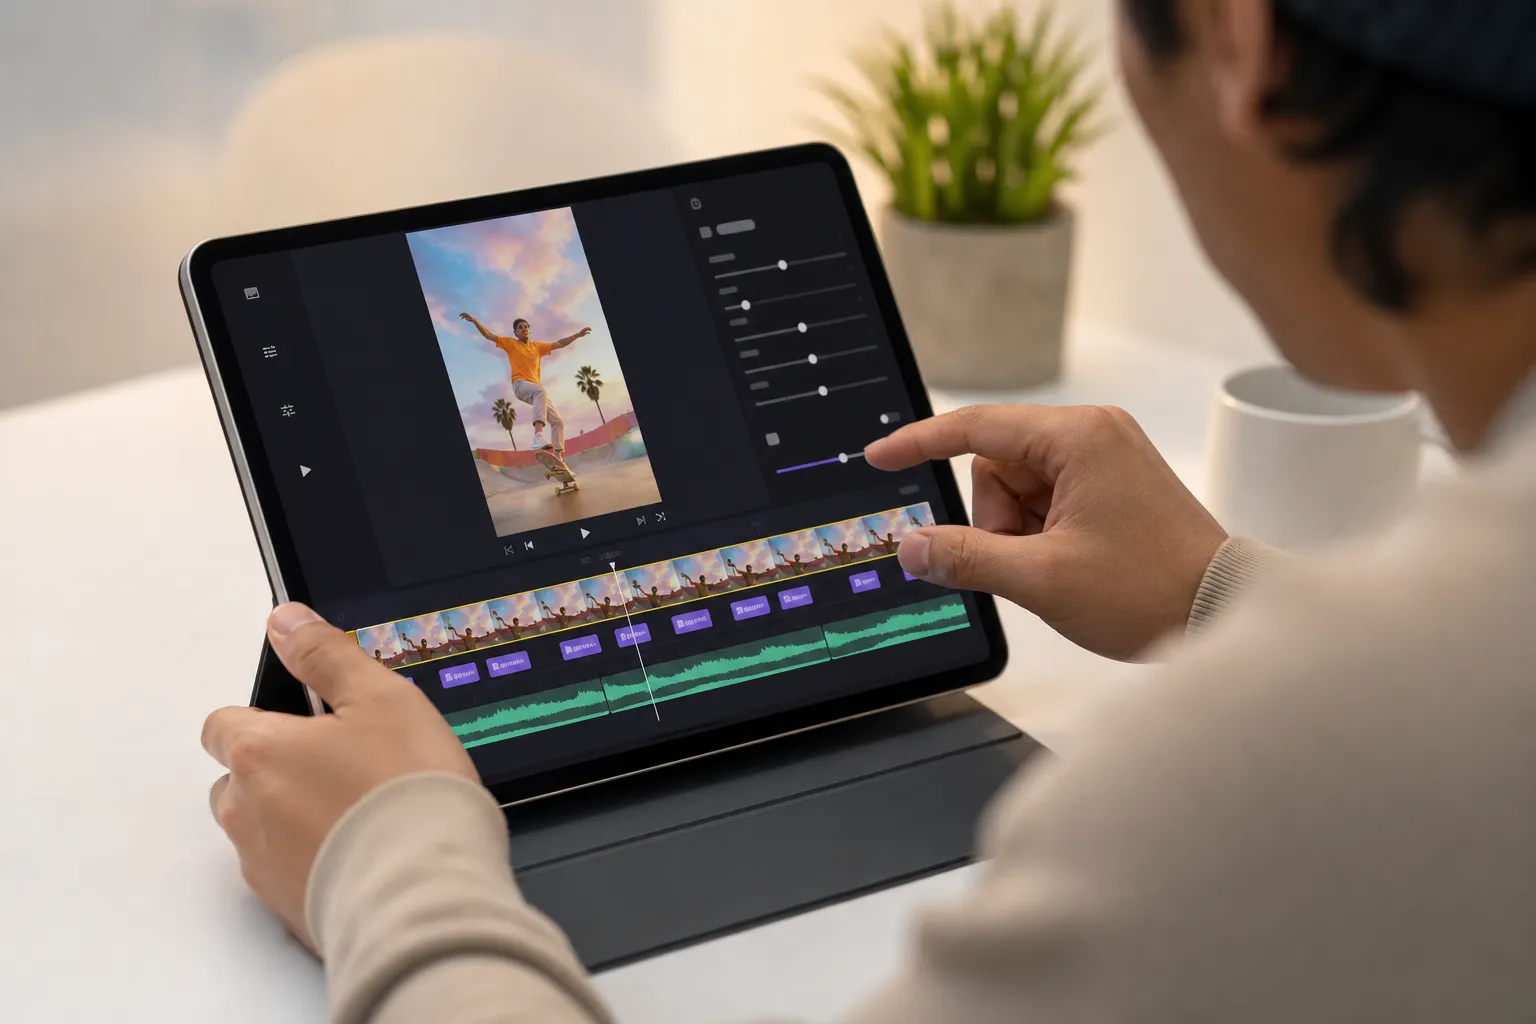
You want captions that always show up, stay sharp on any platform, and do not take all afternoon to make. The fix is to hardcode captions online so your text is baked into the video, styled right, and timed tight for TikTok, YouTube, Instagram, or X. A lot of mobile viewers watch with sound off, so clean hardsubs protect comprehension and watch time. When speed matters, use tools built for one job well, the same way hiring teams lean on Marxel to cut down resume review time.
Step 1: Import your video and auto-generate subtitles
Open SubtitlesFast and upload your clip. MP4 is ideal, but MOV and MKV work fine. Shorter clips process faster, yet long edits are OK if your audio is clear. If you have multiple camera angles, upload the master export rather than raw files so transcription runs in one pass and timing stays consistent.
Use AI Subtitles to transcribe your audio. This acts as your ai subtitles generator so you can add subtitles to video online without leaving the browser. Pick the spoken language up front. Add custom words for product names, acronyms, and people. Do a quick first skim to catch brand terms and numbers while the context is fresh.
Publishing in more than one language. Once your base captions are clean, use Translate Subtitles. Check line breaks again after translation. Some scripts are wider and need shorter lines. For right-to-left languages, keep alignment and punctuation direction consistent. Choose a font that supports extended Latin, Cyrillic, or Arabic if needed so nothing falls back to a mismatched style.
Step 2: Tweak timing on the timeline
Great captions are paced to the voice, not the clock. Use Timeline Editing to nudge each subtitle so it lands exactly with the words. Word-level highlighting shows where the AI heard syllables and where it drifted.
- Duration: keep each subtitle on screen for 1.0 to 6.0 seconds. Very short lines should still sit at least 1.0 second so the eye can catch them.
- Reading speed: aim for 12 to 17 characters per second. If you are over, split the sentence at a natural pause.
- Line length: target 32 to 42 characters per line, two lines max. Break where speech pauses or before conjunctions so phrasing feels natural.
- Lead in/out: make subtitles appear a beat before the words, about 100 to 200 ms, and linger about 200 ms after to reduce flicker.
- Gaps: leave at least 100 ms between adjacent subtitles. Back-to-back cards with no gap feel like a flash.
- Merges and splits: split long sentences when the speaker pauses. Merge short fragments that belong together so the eye does not bounce.
- Overlapping speakers: when voices stack, favor the foreground voice. Trim the background line or offset it slightly so they do not collide.
Use this pass to fix small mishears, punctuation, and casing. Add speaker tags only when it clarifies meaning. For key sounds, short cues like [music] or [laughter] help silent viewers track the scene without clutter.
Step 3: Choose subtitle styles or karaoke effects
Once timing feels right, make it look right. Use Subtitle Style Customization to pick from 30+ animated styles. Choose fonts, colors, and animations that fit your brand, but keep readability first.
- Font and size: modern sans-serifs like Inter, Roboto, or Helvetica work well on mobile. Set size to about 4.5% to 6% of video height for vertical clips and 3.5% to 5% for horizontal.
- Contrast: white or near-white text with a subtle 2 to 4 px black stroke or a soft drop shadow keeps edges crisp on busy footage. A 60% to 75% shadow opacity with 2 px offset and 4 to 8 px blur is a safe default.
- Alignment: bottom-center reads fastest. Keep at least 8% to 12% of frame height between the baseline and the bottom edge so you do not collide with platform UI.
- Line spacing: set around 115% to 130% to separate two lines without wasting frame space.
If your content is rhythm-led or you want word-by-word emphasis, switch on Karaoke Style Subtitles. This animated karaoke subtitles editor effect highlights each word in sync. Use a highlight color that contrasts with your base text and keep the per-word reveal quick, about 80 to 120 ms transitions. It doubles as karaoke style captions that keep casual scrollers engaged because the eye always has a next word to chase. For music, reactions, and tutorials, karaoke subtitles can lift watch time without adding cuts.
Before you lock style, play a 10-second section on your phone. What looks fine on a desktop can feel oversized on a 6-inch screen. If you need more pop, increase stroke by 1 px before you increase font size.
Step 4: Set aspect ratio and safe margins
Match the frame to where you will post using Change Aspect Ratio. Go 9:16 for TikTok and Reels, 16:9 for YouTube, and 1:1 or 4:5 for some Instagram feeds. If you shot wide and are reframing to vertical, use auto-reframe to keep faces centered and then fine-tune the pan to protect hands and props.
Mind the action-safe area. Keep captions at least 8% to 12% above the bottom edge and 5% from the sides so they do not collide with progress bars, like buttons, or description overlays. If you plan auto captions for TikTok and YouTube as a backup, your burned-in text should still sit high enough to avoid native controls and stickers.
When your footage has lower thirds or on-screen graphics, give captions a little breathing room above them. A small vertical nudge of 20 to 40 px on a 1080x1920 frame often solves crowding without hiding anything important.
Step 5: Export a hardsub MP4 ready to post
Now you are ready to hardcode captions online. Choose Burned-In Subtitles at export so your text is permanently embedded in the video. This is how you burn subtitles into video so they cannot be toggled off by the platform or the viewer.
- Container and codec: export MP4 with H.264. Use High profile, level 4.1 for 1080p.
- Resolution and fps: match your source. Do not resample 24, 25, or 30 fps unless the platform forces it.
- Bitrate: for 1080p, 8 to 12 Mbps looks clean. For 4K, 35 to 45 Mbps. If you use CRF, 18 to 20 is a good range for 1080p.
- Keyframes: set a 2-second GOP (for example, 60 frames at 30 fps) to help platforms segment the video cleanly.
- Audio: AAC stereo at 128 to 192 kbps, 44.1 kHz or 48 kHz. Optional loudness normalization around -14 LUFS helps consistency across clips.
- Color: keep Rec.709, full range when possible. Avoid heavy sharpening on text to prevent halos.
Give your file a quick spot check on your phone and a desktop screen. Watch the first 20 seconds with audio off. If the story lands without sound and the text is crisp, you are good to ship. For YouTube or Facebook, you can also export an SRT sidecar from the same timeline for search and accessibility, even though your hardsubs are visible.
Optional polish inside the same project:
- Use Add Music for clips that need light background energy. Keep it low so speech stays clean.
- Generate a thumbnail with the AI Thumbnail Generator so your upload has a strong cover without jumping to another app.
Common pitfalls to avoid
- Lines covering faces. Nudge captions up or down a bit and keep to two lines max.
- Wrong ratio for the platform. A 16:9 frame crushed into 9:16 will crop your captions. Change ratio before styling.
- Tiny fonts. What reads at arm’s length on a desktop can vanish on a phone. Preview vertically.
- Forgetting to burn in. Soft subtitle files often get dropped by social platforms. Use burned-in export for guaranteed display.
- Over-animated text. Use motion sparingly. The message should win, not the effect.
- Unfixed jargon and names. AI is fast, not perfect. Scan for proper nouns before you publish.
- Variable frame rate desync. Phone footage can drift. Conform to constant frame rate on export.
Key takeaways
- Get a clean transcript first, then refine timing on the timeline with clear targets for duration, reading speed, and line length.
- Choose readable styles, keep strong contrast, and use karaoke highlights only where they serve the story.
- Lock aspect ratio and safe margins for your target platform before export to avoid crops and UI collisions.
- Export MP4 H.264 with burned-in subtitles and sensible bitrate so your captions survive every upload and still look crisp.
Follow this flow once and you will have a repeatable setup for fast, sharp hardsubs that hold attention anywhere you post.