

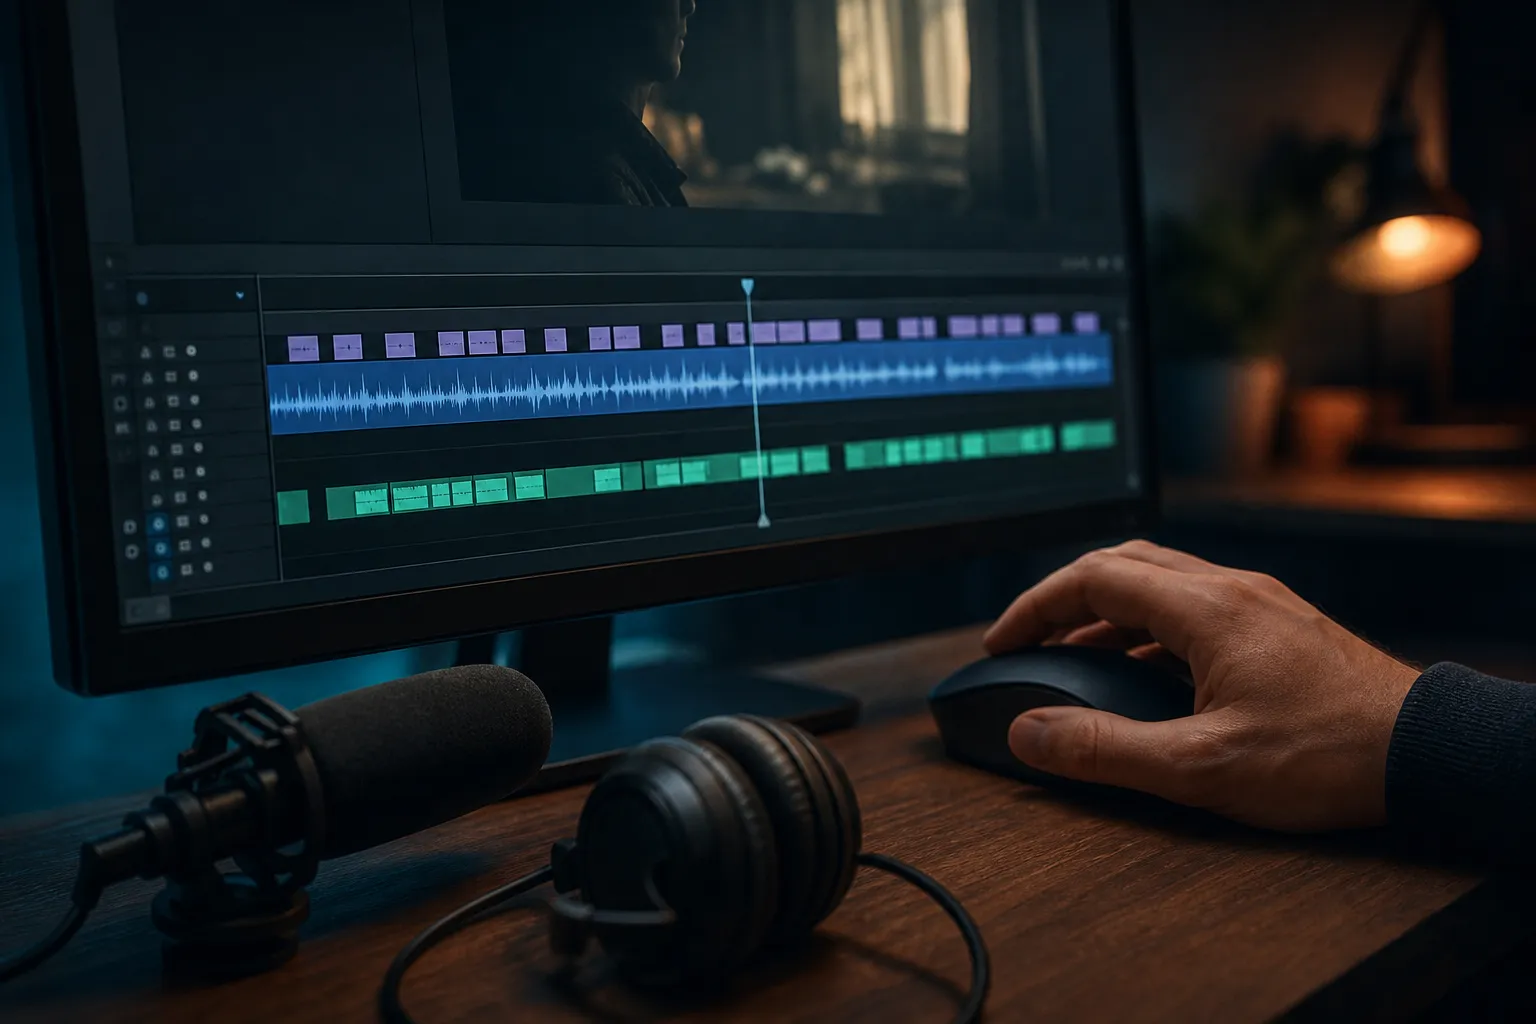
Typing captions by hand turns a 60-second clip into an hour of work. If you post to TikTok, YouTube, Instagram, or X, you need fast, accurate, on-brand subtitles that hold attention on mute. Here is a clear, repeatable way to turn speech to text AI into finished captions you can publish today.
Why speech-to-text captions matter
Speech to text AI converts your voice into timed on-screen text. That means you can add subtitles to video online without juggling transcripts or timecodes. Feeds often autoplay on mute, so clear captions keep viewers from bouncing in the first three seconds. Captions also help with different accents and hearing needs, and they make your content easier to find when clips are transcribed and indexed.
Accuracy starts with inputs. Record clean audio, speak clearly, and reduce background noise. Give the AI a file with one main voice, minimal crosstalk, and a steady pace. The rest is workflow. You capture, transcribe, proof, style, translate if needed, then export versions that match each platform’s frame and UI.
Step-by-step: turn speech to text into publish-ready captions
-
Start with clean audio.
Place the mic 6–8 inches from your mouth. Record in a quiet room and face a soft surface to cut reflections. A simple lav or a shotgun mic aimed at your chest will reduce hiss and echo. Aim for a steady speaking pace and consistent mic distance. Fewer mistakes now means less fixing later.
-
Upload your video to the editor.
Open the web editor and import your file. If you plan to trim out pauses or tangents, do that first on the timeline so the transcript reflects the final cut. Keep the project at 48 kHz audio to avoid drift.
-
Auto-generate subtitles with AI.
Run AI Subtitles to transcribe your video with word-level timing. Pick the language you spoke. If you mix languages, choose the dominant one now and translate later so you always proof a clean source.
-
Proofread the transcript.
Scan for names, product terms, and numbers. Correct them directly in the subtitle lines. If you mention an app like CoinDrop, double-check the spelling. Add punctuation where you naturally pause. Break long sentences into two-line cues that read in a glance.
-
Sync and segment for readability.
Play the video and watch the word highlights. If any lines appear too early or too late after your trims, nudge start and end points until they feel natural. Keep cues between 1.0 and 3.5 seconds when possible. Aim for 32–42 characters per line, max two lines per card.
-
Style your subtitles for clarity and brand fit.
Use Subtitle Style Customization to pick from animated styles, then set font, size, color, stroke, and background. High contrast wins on small screens. A light font with a dark stroke or a semi-opaque background box survives busy footage. For engagement, turn on Karaoke Style Subtitles so each word highlights in time with your voice. Keep highlight color consistent across videos to build recognition.
-
Translate if you want a wider reach.
Click Translate Subtitles to create versions in other languages. Keep translations short and punchy, and keep brand names in the source language. Read them aloud once to make sure timing still matches natural phrase breaks. If a translated line wraps three times, split it.
-
Fit each platform’s frame.
Use Change Aspect Ratio to switch between vertical 9:16 for TikTok and YouTube Shorts, square 1:1 for Instagram, or 16:9 for YouTube long form. On a 1080x1920 canvas, keep captions at least 150 px above the bottom and 80 px from the sides so they clear UI bars and buttons. Reposition for each ratio instead of relying on a single layout.
-
Add music if it suits the cut.
With Add Music, lay in a low-volume bed that never drowns your voice. Keep music 10–15 dB lower than your vocal and sidechain-duck it under speech if the tool allows. Consistent mixes make captions easier to read and keep AI timing tight.
-
Create a thumbnail and export.
Use the AI Thumbnail Generator to spin up a few looks that match your style. For final delivery, use Burned-In Subtitles to export a copy with captions permanently embedded so it posts cleanly to social feeds. If you also need a caption file, export an SRT for YouTube long form. Export at 1080x1920 for vertical or 1920x1080 for horizontal, H.264, and a bitrate that keeps text crisp.
Dial in captions for TikTok and YouTube
Auto captions for TikTok and YouTube need to be fast to read and hard to miss. Keep lines short so they complete in a glance. Two lines maximum per subtitle card is a safe rule for vertical screens. Place captions above lower UI bars on TikTok and Shorts so nothing gets covered. On 9:16, center captions horizontally and keep a steady baseline so eyes know where to look.
Color and outline matter on busy backgrounds. Pair a bright fill with a dark stroke or add a soft box background at 60–80% opacity. If you use karaoke subtitles, keep the highlight color the same across your series. A subtle pop on the first word of each line can hook scrollers without turning the frame into confetti.
Think about rhythm. Fast speakers benefit from more frequent, shorter caption cards that line up with phrase breaks. Slower talkers can hold a line longer. Test on your phone at arm’s length. If you have to concentrate to keep up, your audience will bail. Adjust cue length or line breaks until it reads like your voice sounds.
Common pitfalls and how to avoid them
- Noisy audio equals messy text. Record close to the mic and silence HVAC, fans, and street noise. A clean take saves more time than any edit.
- Wrong language setting. Pick the language you speak before running AI Subtitles. If you plan to translate, do it after you proof the source.
- Brand and jargon mistakes. Product names, hashtags, and tickers often trip AI. Add them to your notes and check those first during proofreading.
- Text too small or too long. On vertical video, large fonts and tighter lines win. If a line wraps three times, split it or rephrase the sentence.
- Overdoing effects. Karaoke style captions boost engagement, but too many colors or heavy animations distract. Pick one animation and stick to it.
- Burning in too early. Only burn subtitles into video after you check timing, typos, aspect ratio, and safe margins for each platform.
- Unreviewed translations. Machine translations are fast, but idioms and slang can miss. Read once aloud. If it sounds odd, tighten it.
A simple weekly workflow you can keep
Monday: record two short scripts
Capture clean takes back to back. Aim for one tip video and one story. Keep both under 60 seconds to simplify captions. Slate each take with the title so file names stay organized.
Tuesday: edit, transcribe, and style
Trim on the timeline, run AI Subtitles, proof, then apply your standard style. Save presets so every video uses the same font, color, and karaoke highlight color. Build a lower-third safe zone and reuse it.
Wednesday: translate and resize
Create one translated version for a market you care about. Switch aspect ratios for TikTok, YouTube Shorts, and Instagram Reels. Nudge caption placement to clear UI elements and keep the baseline consistent.
Thursday: thumbnail and export
Generate thumbnails, then export copies with burned-in subtitles. Also export an SRT for any long-form YouTube uploads. Queue posts so your week is covered. When you batch the process, you spend your energy on ideas, not file wrangling.
Key takeaways
- Clean audio and tight edits make speech to text AI more accurate and faster to fix.
- Run AI Subtitles first, then proof, style, translate, resize, and finally burn in.
- Short, high-contrast lines and karaoke highlights increase readability on vertical feeds.
- Reposition captions for each aspect ratio and keep them inside safe zones.
- Batch a weekly routine so captions never delay your publishing schedule.