

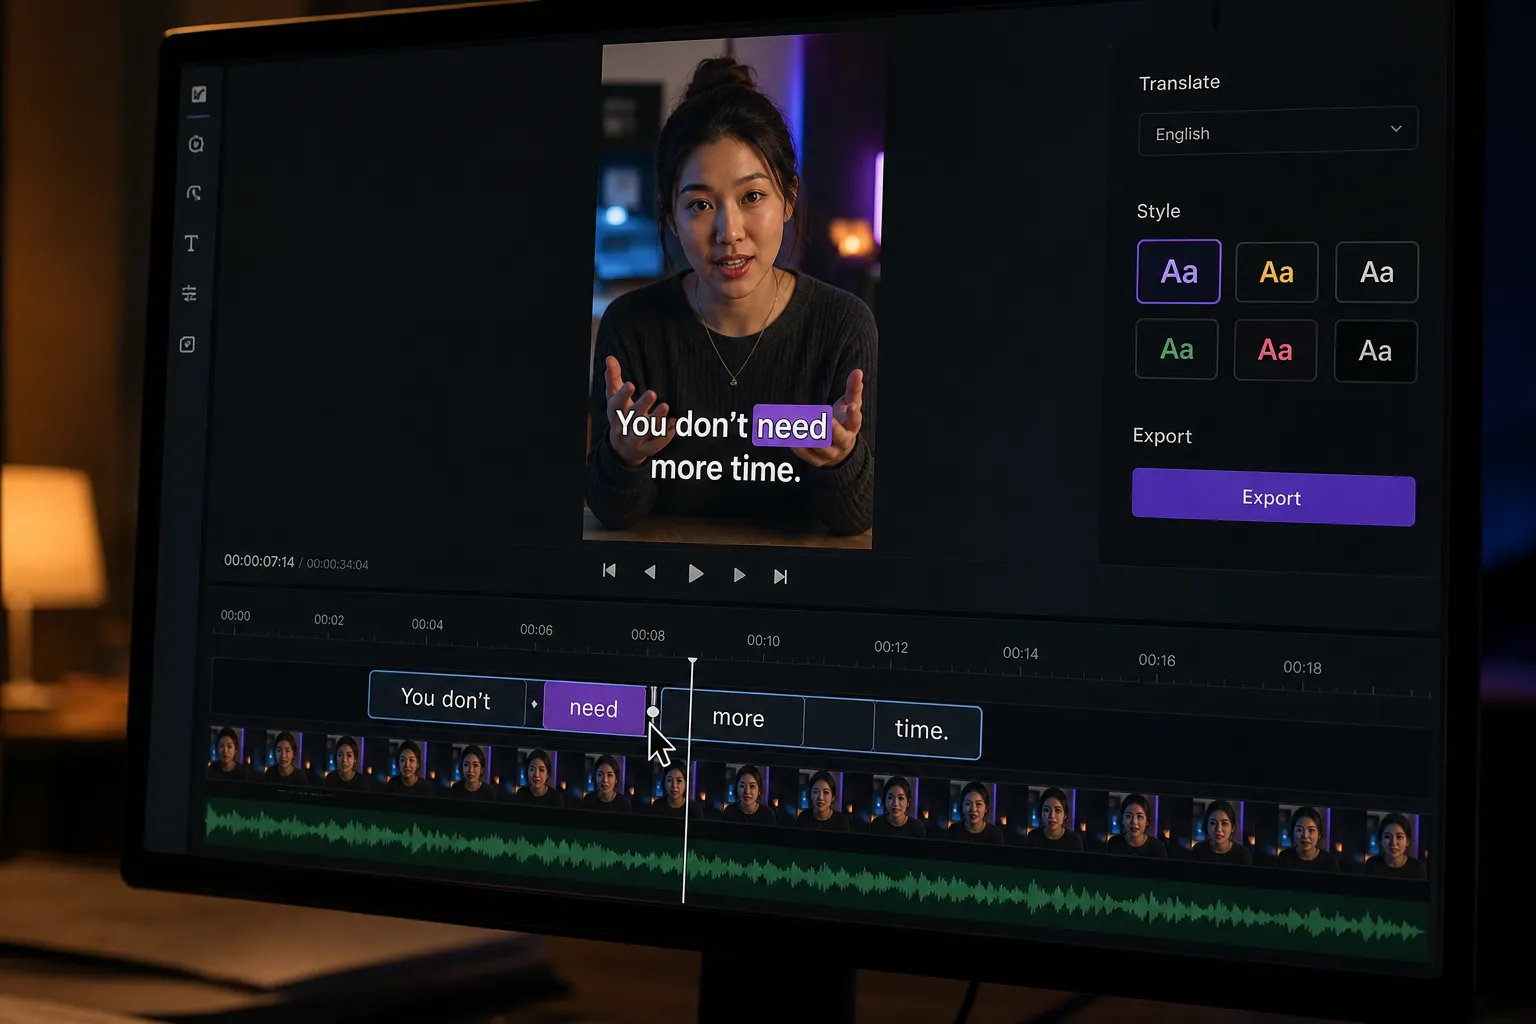
Multilingual subtitles help people finish your video instead of skipping it. The trick is keeping the process tight: get a clean source, translate with intent, fix timing, style for the feed, then export once. Here is a practical, repeatable workflow that gets you from raw audio to on-brand, readable captions without juggling five tools.
Step 1: Prepare your source captions
Your translation quality depends on the base track. Make the original subtitles accurate and easy to read before you touch other languages.
- Upload your video to subtitlesfast.com and select AI Subtitles. Set the correct source language (for English, pick English rather than auto-detect). The generator creates timed captions with word-level highlighting so you can verify sync as you edit.
- Fix names and terminology. Correct brand names, speaker names, acronyms, and domain terms. Keep contractions and natural phrasing. If the speaker says “I’m,” caption “I’m,” not “I am,” unless you need the extra clarity.
- Tighten the cut on the timeline. In Timeline Editing, trim false starts, long pauses, and filler words that do not add meaning. Cleaner audio means cleaner timing and fewer translation headaches.
- Set readable line lengths. Aim for two lines max, roughly 32–42 characters per line. Break on phrase boundaries: keep verbs with subjects, names intact, and numbers with units. Example: split “We launched in 2024 and doubled revenue” as “We launched in 2024” / “and doubled revenue.”
- Check sync with audio. Play back with word-level highlighting. If the highlight drifts, nudge the cue start/end a few frames. Small fixes now prevent compound errors later.
If you are cutting for Shorts or Reels, use Change Aspect Ratio early to 9:16 or 1:1 so any timing tweaks match your final framing and safe areas.
Step 2: Auto-translate and review language
Translate one target language at a time so you can focus and keep choices consistent.
- Open Translate Subtitles. Pick the target language and generate the translated track. The timing copies from your source, which keeps edits predictable.
- Do a clarity pass. Replace literal phrases with what locals would actually say. Keep product names in the original language unless you officially localize them. Preserve numbers and URLs as-is.
- Set tone rules. Decide on formal vs informal address (tu/usted, du/Sie). Note any locale standards: decimal commas vs points, date order (DD/MM vs MM/DD), 24-hour time, and currency spacing.
- Build a tiny glossary. Add 10–30 recurring terms with preferred translations. Apply them everywhere: feature names, taglines, error messages, and industry jargon.
- QA with a repeatable checklist. Treat review like testing: same checks, every time. For a good model of process thinking, read this practical playbook on reducing test flakiness in mobile app testing automation. Different craft, same lesson: a simple, consistent checklist catches more issues than memory.
Tip: Regional variants matter. Spanish (Spain) may prefer “ordenador,” while Mexico uses “computadora.” Capture these choices in your glossary before you style and export.
Step 3: Fix timing and line breaks
Translated lines often run longer. Adjust durations and breaks so viewers can read without missing visuals.
- Use a sensible reading speed. Target about 14–17 characters per second (CPS). As a quick check, 36 characters on screen for 2 seconds equals 18 CPS, which is fast. Bump duration to 2.5 seconds (≈14 CPS) or split the line.
- Set display limits. Keep cues on screen for at least 1.0 second and at most ~6.0 seconds. Very short flashes are hard to read; very long holds feel stale.
- Nudge in/out by a few frames. In Timeline Editing, bring captions in a fraction before speech starts and let them linger a hair after the last syllable. This feels natural and prevents pops on cut points.
- Break lines on meaning. Keep names together and avoid breaking before a key verb or particle. For example, in French, prefer keeping “va arriver” on one line. In German, watch for verb-final clauses that need longer holds.
- Watch fast dialogue. When two speakers trade short lines, stagger cues by 2–4 frames so the eye has time to register each change. If two cues stack, shorten the first and start the second a touch earlier.
Common pitfalls and quick fixes
- Overlong lines: Split in two, or rephrase to a tighter synonym that does not change meaning.
- Subtitle pops: Add 2–4 frames of lead-in/lead-out so cues do not flash on jump cuts.
- Cut changes under a cue: If a shot changes mid-line, consider a soft split so each shot carries its own readable piece.
- Drift after edits: Use word-level highlighting as a meter. If it races ahead or lags, micro-adjust the cue by a frame or two.
Step 4: Style for readability and brand
Style should make reading effortless and match your channel’s look. Prioritize contrast and safe placement, then add motion sparingly.
- Pick a base style. With Subtitle Style Customization, start from a high-contrast preset. For busy footage, white text with a 2–3 px black stroke or a semi-opaque box (60–75% opacity) is reliable.
- Set font, size, and spacing. Use a clean sans serif. For a 1080-wide vertical frame, 46–56 px works for most phones. Line height around 120–140% prevents crowding on two-line cues.
- Color you can read. If your brand color is bright, apply it to highlights or key words, not whole lines. Always test on light and dark backgrounds. Add a subtle shadow if your footage has frequent exposure shifts.
- Try Karaoke Style Subtitles. Word-by-word or syllable highlighting helps viewers track pace, which often lifts retention on short videos. Use Karaoke Style Captions on hooks, choruses, or fast explainer beats to guide the eye.
- Respect safe areas. Use Change Aspect Ratio to 9:16 for TikTok, 1:1 for Instagram, or 16:9 for YouTube. Keep text ~8–10% above the bottom edge so it clears UI chrome (like the TikTok caption and action bar).
- Keep animation purposeful. Light fades, underlines, or pop-on effects are fine. Avoid bouncy or spinning moves that pull attention from the subject.
Adding a music bed? Use Add Music and set the bed about 12–18 dB under dialog. If you also use sound effects, leave an extra 2–3 dB of headroom on peaks so the mix does not mask consonants. To finish the package, try the AI Thumbnail Generator for a cover that echoes your subtitle colors.
Step 5: Export and share with confidence
Lock timing and style, then export once in the format you need for each platform.
- Burn your subtitles into the video. Choose Burned-In Subtitles so your look appears the same everywhere, even if a platform compresses or overlays its own UI.
- Confirm dimensions and bitrate. Match the target: 1080×1920 for TikTok/Reels, 1920×1080 for YouTube. A higher bitrate helps keep text edges crisp after platform re-encoding.
- Do a final scan. Watch the first 20 seconds and jump to 2–3 random spots. Check for typos, awkward line breaks, color clashes on bright frames, and cues that land right on cuts.
- Post to your channels. Even if TikTok or YouTube can auto-caption, a version with burned-in subtitles gives you full control over timing, animation, and brand consistency.
Key takeaways
- Start with clean source captions using AI Subtitles, then translate one language at a time for focused review.
- Fix timing and line breaks before styling so you do not rework animations later.
- Use Subtitle Style Customization and Karaoke Style Captions for readable, on-brand motion that boosts retention.
- Export with Burned-In Subtitles to keep your look consistent across platforms and devices.
This workflow keeps your process simple: add subtitles to video online, translate them precisely, apply a karaoke-style look that fits your brand, and burn subtitles into video for stress-free posting. The result is clear captions viewers can follow, whether they scroll on mute or watch all the way through.